The Potato Chip Scarf Recipe

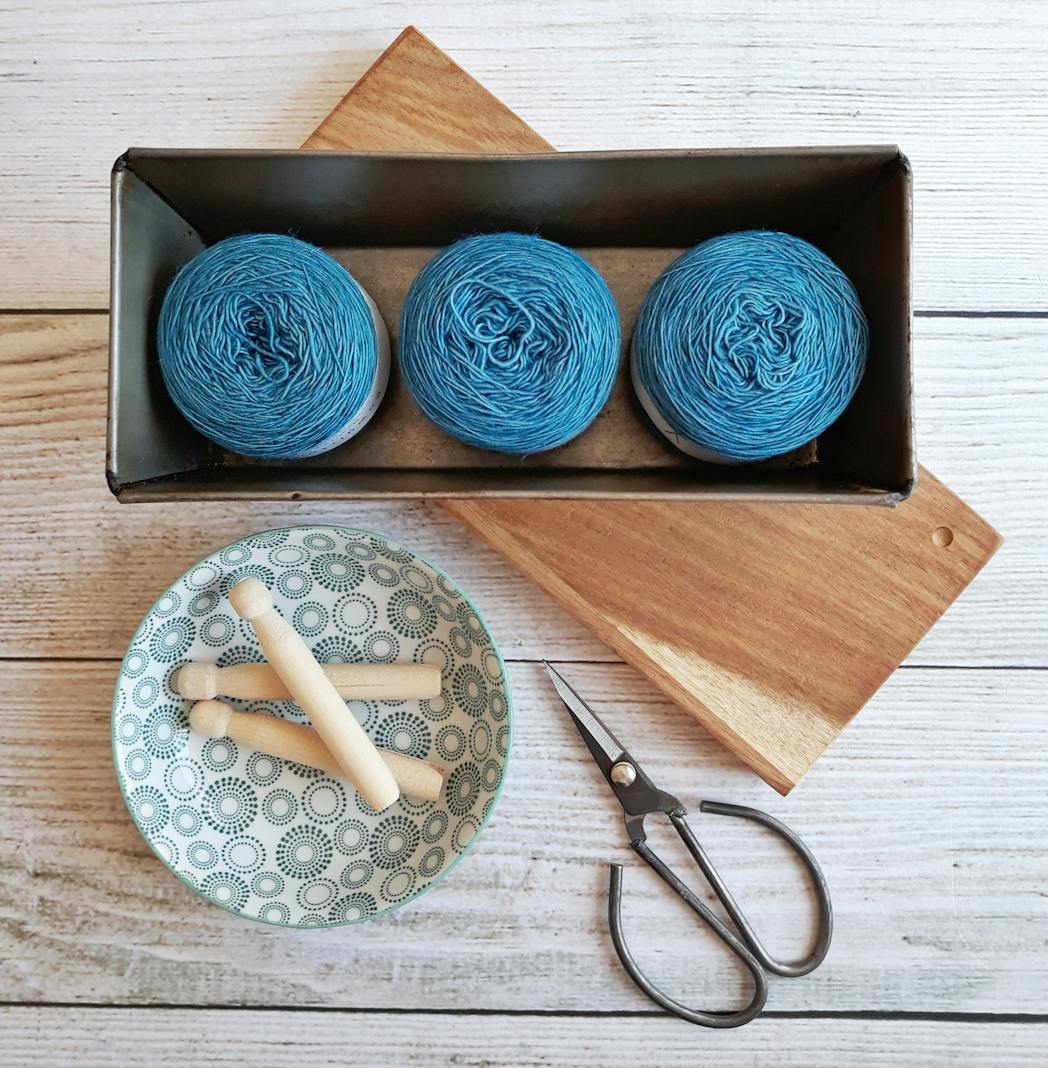
Who hasn’t walked into a yarn store “just to browse” and ended up an hour later walking out with a couple of skeins of “just-had-to-have-it” yarn? And who hasn’t then agonized over what to do with that fiber that’s rapidly becoming more of a remorseful weight each day? This, of course, is one reason why stash yarn patterns are so terribly important – they let us indulge in our guilty pleasure yarn buying habit! One of the best stash busters of all time is called the “potato chip scarf”, and it’s a fun pattern to both knit and wear!
While different versions of this pattern are readily accessible on the web, we don’t really need a written pattern for this scarf. It’s made up of a series of potato chip shaped wedges, created with short rows that cause the scarf to ruffle. There’s usually a center stitch that acts as the scarf’s spine. Like other patterns that look good on both sides, the secret lies in the seven row pattern, which allows us to work on one side first and then the other. Given this, it’s easy to alter the width of the scarf.
While many written potato chip patterns instruct us to cast on 21 stitches, we can alter this number to create larger or smaller wedges. Remember that there is a center ‘spine’ stitch; the wedges on each side are then half the leftover number of stitches. We start the wedges by knitting to two stitches before the ‘spine’ stitch and then turning the knitting to knit or purl back to the beginning. We then knit to two stitches before the last turn and turn again, knitting or purling back. We repeat this until we are happy with the size of the wedge and then knit across the entire scarf to begin working the wedges on the other side. A written pattern for a scarf made with 31 stitches might thus look like this:
Row 1: Knit 13, slip 1, yarn forward, turn work
Row 2 and all odd numbered rows: slip 1, knit to end
Row 3: Knit 11, slip 1, yarn forward, turn work
Row 5: Knit 9, yarn forward, turn work
Row 7: Knit 7, yarn forward, turn work
Row 9: Knit 5, yarn forward, turn work
Row 11: Knit across entire row.
Repeat these rows until the scarf is as long as desired.
The pattern depends upon the stacking of the short rows to create the ruffled effect. Therefore, it’s important to keep knitting for four or more inches before deciding if there’s the right amount of ruffle to each wedge. In the above pattern, for example, it’s possible to add another layer to each wedge by adding a “knit 3, yarn forward, turn work” row.
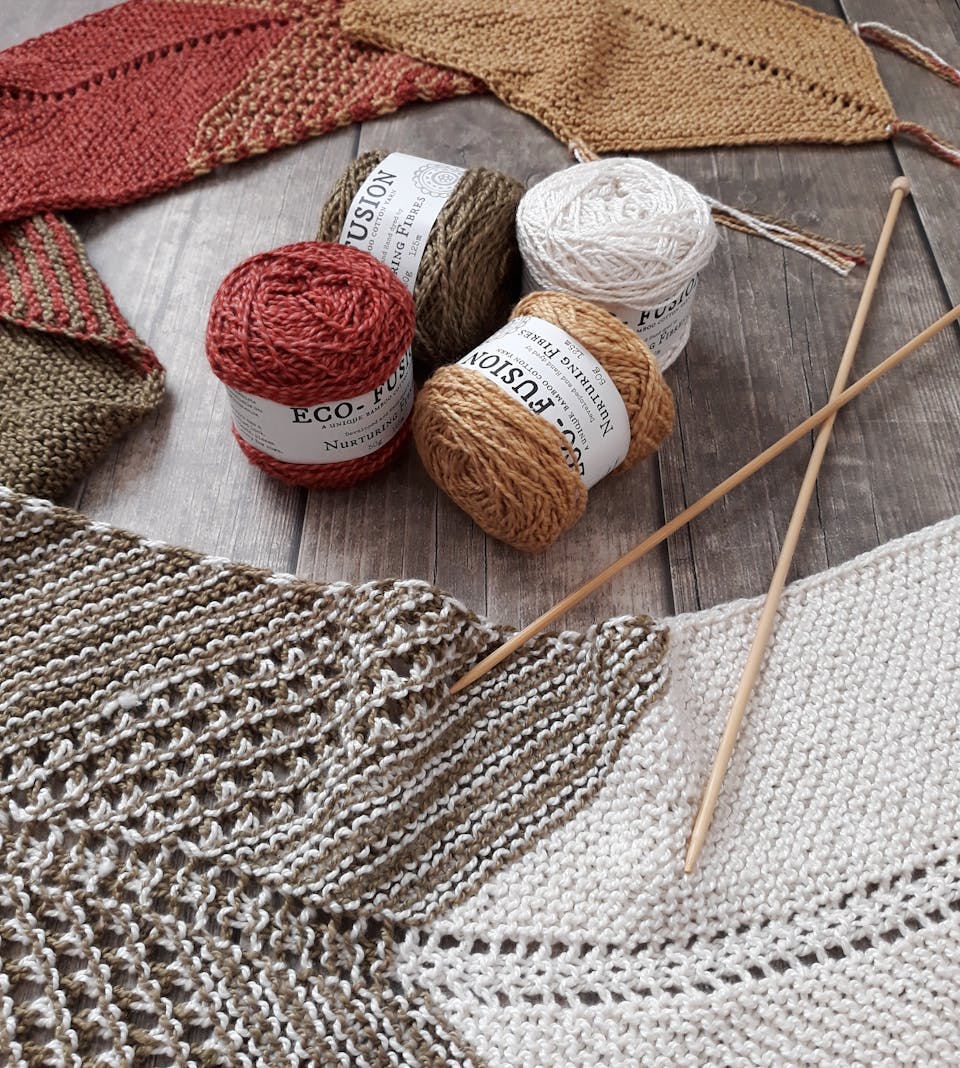
The above instructions create a potato chip scarf knit entirely in garter stitch. If we purl on the odd rows instead of knitting, we create a scarf that’s half in stockinette and half in reverse stockinette. Which is better? It depends upon the effect we’re after and on the yarn. Because the pattern is already busy, these are usually the only three stitches used in a potato chip scarf.
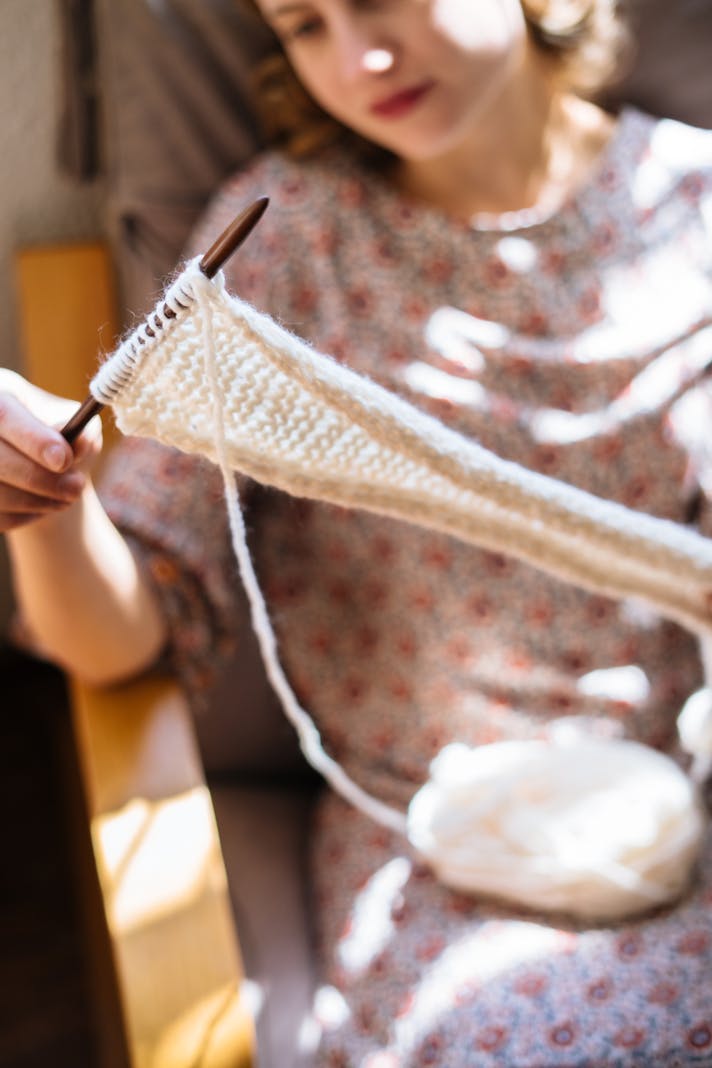
There’s very little finishing to do once the scarf is the correct length. Weave in any ends. If blocking is desired, block each wedge by itself (this will take some time!) Then wear, and enjoy the envious looks from friends!
While different versions of this pattern are readily accessible on the web, we don’t really need a written pattern for this scarf. It’s made up of a series of potato chip shaped wedges, created with short rows that cause the scarf to ruffle. There’s usually a center stitch that acts as the scarf’s spine. Like other patterns that look good on both sides, the secret lies in the seven row pattern, which allows us to work on one side first and then the other. Given this, it’s easy to alter the width of the scarf.
While many written potato chip patterns instruct us to cast on 21 stitches, we can alter this number to create larger or smaller wedges. Remember that there is a center ‘spine’ stitch; the wedges on each side are then half the leftover number of stitches. We start the wedges by knitting to two stitches before the ‘spine’ stitch and then turning the knitting to knit or purl back to the beginning. We then knit to two stitches before the last turn and turn again, knitting or purling back. We repeat this until we are happy with the size of the wedge and then knit across the entire scarf to begin working the wedges on the other side. A written pattern for a scarf made with 31 stitches might thus look like this:
Row 1: Knit 13, slip 1, yarn forward, turn work
Row 2 and all odd numbered rows: slip 1, knit to end
Row 3: Knit 11, slip 1, yarn forward, turn work
Row 5: Knit 9, yarn forward, turn work
Row 7: Knit 7, yarn forward, turn work
Row 9: Knit 5, yarn forward, turn work
Row 11: Knit across entire row.
Repeat these rows until the scarf is as long as desired.
The pattern depends upon the stacking of the short rows to create the ruffled effect. Therefore, it’s important to keep knitting for four or more inches before deciding if there’s the right amount of ruffle to each wedge. In the above pattern, for example, it’s possible to add another layer to each wedge by adding a “knit 3, yarn forward, turn work” row.
The above instructions create a potato chip scarf knit entirely in garter stitch. If we purl on the odd rows instead of knitting, we create a scarf that’s half in stockinette and half in reverse stockinette. Which is better? It depends upon the effect we’re after and on the yarn. Because the pattern is already busy, these are usually the only three stitches used in a potato chip scarf.
There’s very little finishing to do once the scarf is the correct length. Weave in any ends. If blocking is desired, block each wedge by itself (this will take some time!) Then wear, and enjoy the envious looks from friends!

Related Articles
Editor's Picks Articles
Top Ten Articles
Previous Features
Site Map
Content copyright © 2023 by Korie Beth Brown, Ph.D.. All rights reserved.
This content was written by Korie Beth Brown, Ph.D.. If you wish to use this content in any manner, you need written permission. Contact Korie Beth Brown, Ph.D. for details.