
Draw an Alphabet in Affinity Designer
In this tutorial, we will experiment with drawing the letters of the alphabet in Affinity Designer. Once we have each letter drawn as simple vector paths, we will experiment with some brushes. You will be surprised to see the variations you can create.
There are many techniques for drawing letters of the alphabet, depending on how the alphabet will be used. The method below began as an experiment. I had so much fun that I turned it in to a tutorial. We will be drawing these letters into 500 pixel squares. But as they are vector based, you can scale the letters as needed. For the tutorial, we will be creating only the uppercase letters of the alphabet but you can use the same technique to create the lowercase letters, numbers or whatever you wish.
Next
Screenshots used by permission of Serif (Europe) Ltd. This article is not endorsed by Serif Ltd.
There are many techniques for drawing letters of the alphabet, depending on how the alphabet will be used. The method below began as an experiment. I had so much fun that I turned it in to a tutorial. We will be drawing these letters into 500 pixel squares. But as they are vector based, you can scale the letters as needed. For the tutorial, we will be creating only the uppercase letters of the alphabet but you can use the same technique to create the lowercase letters, numbers or whatever you wish.
- Open Affinity Designer and start a new document at 5200 x 5200 pixels and 144 dpi (see screenshot).
- If you don't see a grid already displayed over the Canvas, click View - Show Grid from the top Menubar.
- Now, we will set up our custom grid and save it as a preset. Click View - Grid and Axis Manager (see screenshot).
- If unchecked, check the box next to Show Grid on the dialog box.
- For the Mode option, click the Advanced button.
- Set the Grid Type to Standard.
- Check the box for Uniform.
- To make our 500 pixel grid squares, go to the First Axis section and set the following.
- At the bottom, set the color for the Grid and Subdivision lines to Black, or the color of your choice, and the Opacity to 50%.
- Click the icon to the right of the Preset list, to open the pop-up menu.
- Click Create Preset to open the Create Preset window and give your new preset a name.
- Close the Create Preset and the Grid and Axis Manager dialogs.
- With the Rectangle tool, draw a rectangle across the entire canvas. In the Context Toolbar, set the following.
- In the Layers panel, name this layer Background.
- Select the Pen tool and set the following options in the Context Toolbar.
- Draw an upside down V for the sides of the A (see screenshot).
- Make any adjustments to the paths with the Node tool.
- Repeat this for the horizontal line for the A (see screenshot).
- In the Layers panel, select both of the layers above the Background layer.
- Right-click and choose Group.
- Name the new group layer A (see screenshot).
- Select the group layers for all the letters. Right-click and choose Group.
- Name this new group layer to sketch alpha or give this group layer a name that describes your alphabet style (see screenshot).
As stated above, our letters will be drawn into squares. We can quickly create these squares by adding a custom grid to the document.
Spacing - 500 pixels
Divisions - 1
Gutter - 20 pixels
Now we will save this custom grid as a preset.
You should have a grid of squares with a smaller gutter between each square (see screenshot). Let's add a white background layer across the canvas.
Stroke Color - Null
Fill Color - White
As I am on an iMac and only have a mouse with which to draw, I am using the Pen tool. But you can use any tool for this technique. We want to draw simple, thin vector paths for these letters. You can think of the paths as the skeleton of the letter.
Fill Color - Null
Stroke Color - Black
Stroke Width - 2 pixels
Let's draw an uppercase A in the first square of the grid.
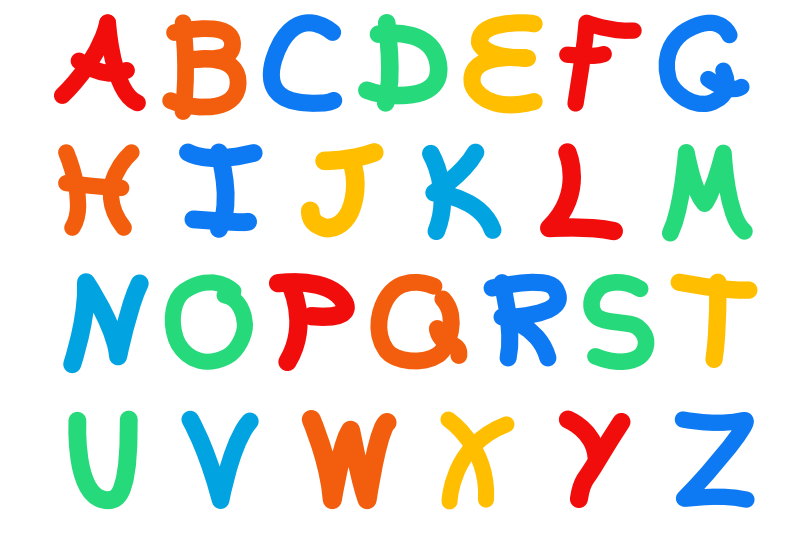
Repeat these steps for each letter. Your lettering style can be anything from block to script. Just have fun. Once you have all the letters (see screenshot), let's group them together.
Next
Screenshots used by permission of Serif (Europe) Ltd. This article is not endorsed by Serif Ltd.

Related Articles
Editor's Picks Articles
Top Ten Articles
Previous Features
Site Map
Content copyright © 2023 by Diane Cipollo. All rights reserved.
This content was written by Diane Cipollo. If you wish to use this content in any manner, you need written permission. Contact Diane Cipollo for details.


