
How to Draw a Snowflake in Affinity Designer
In this Affinity® Designer tutorial, we will draw a simple snowflake. We will use the Pen tool to draw the small parts of the snowflake and the Transform panel to rotate each side or arm of the snowflake around the circle.
Each side of the snowflake begins with a straight line. Then we will add a few simple details to this line. Once we have finished with the first side of the snowflake, we will duplicate the side and rotate it. The number of sides we want for our snowflake will determine the amount of rotation for each side. In our example, we will draw a snowflake with eight sides.
Open Affinity® Designer and let's get started.
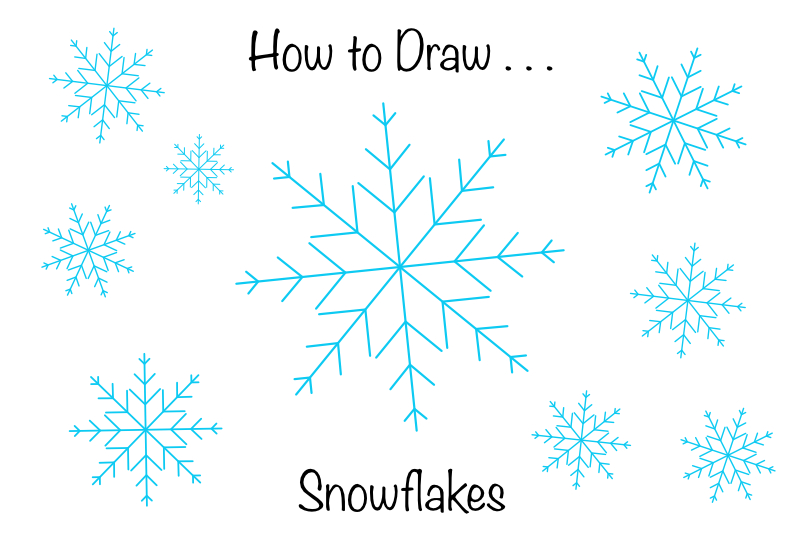
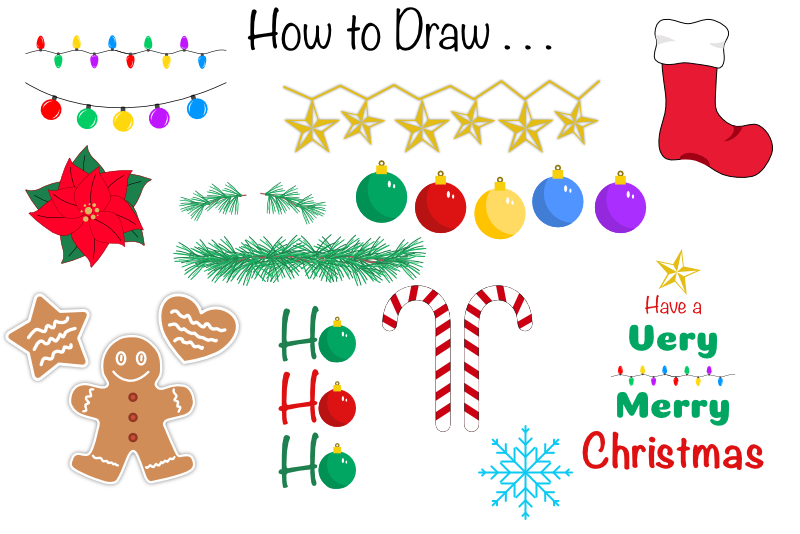
One of the most popular Christmas icons is the snowflake. They can be the main feature of your design or just small additions spattered around your illustration. They can vary in size, number of sides, amount of details and more. Add your snowflakes to your holiday motifs collection (see screenshot).
Index - How to Draw a Holiday Theme Collection of Elements
Affinity® Designer screenshots used by permission of Serif(R) (Europe) Ltd. This article is not endorsed by Serif Ltd.
Each side of the snowflake begins with a straight line. Then we will add a few simple details to this line. Once we have finished with the first side of the snowflake, we will duplicate the side and rotate it. The number of sides we want for our snowflake will determine the amount of rotation for each side. In our example, we will draw a snowflake with eight sides.
Open Affinity® Designer and let's get started.
- Start a new document that is 1000 by 1000 pixels at 144 dpi for mobile/web and 300 dpi for print.
- With the Rectangle tool, draw a rectangle over the entire canvas. In the Layers panel name this layer bg.
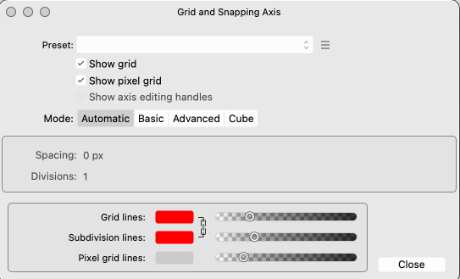
- From the top Menubar, click View - Show Grid. Then, click View - Gird and Axis.
- In the pop-up window, click the Automatic tab, which will set the Spacing to zero and the Divisions to 1. (see screenshot)
- With the Pen tool selected, set the Stroke Width to 2 pt and the Stroke color to blue or the color of your choice.
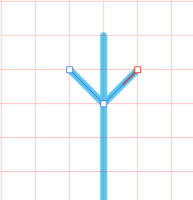
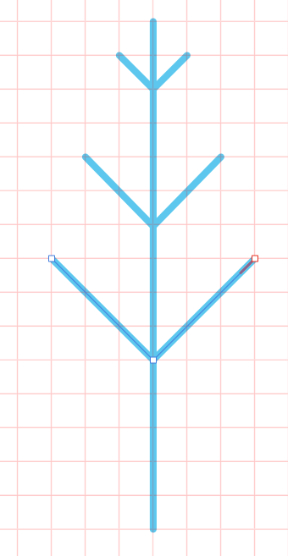
- Starting at the center of the canvas, draw a line from the center of the canvas and upward 15 grid squares.
- Starting two grid squares down from the top of the line, add two short lines that are one grid square long, at a 45 degree angle and meeting at the center. (see screenshot)
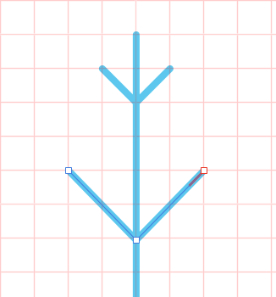
- Move down four grid squares and add two short lines again, meeting at the line. This time draw the lines two grid squares long, diagonally across two squares and meeting at the center. (see screenshot)
- Move down four grid squares again and draw two more lines. This time, draw the lines three grid squares long, diagonally across three squares and meeting at the center. (see screenshot)
- The rest of the center line should continue downward five more grid squares.
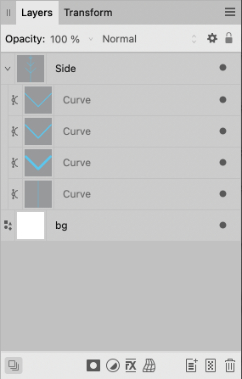
- In the Layers panel, select all the layers except the bottom white layer, right-click and choose Group. Name the group layer Side. (see screenshot)
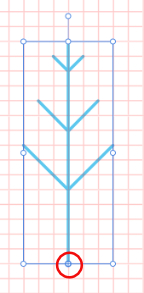
- In the Context toolbar, click on the Enable Transform Origin icon.
- On the canvas, drag the Origin symbol to the bottom of the center line. (see screenshot)
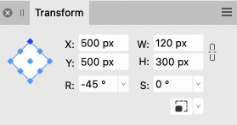
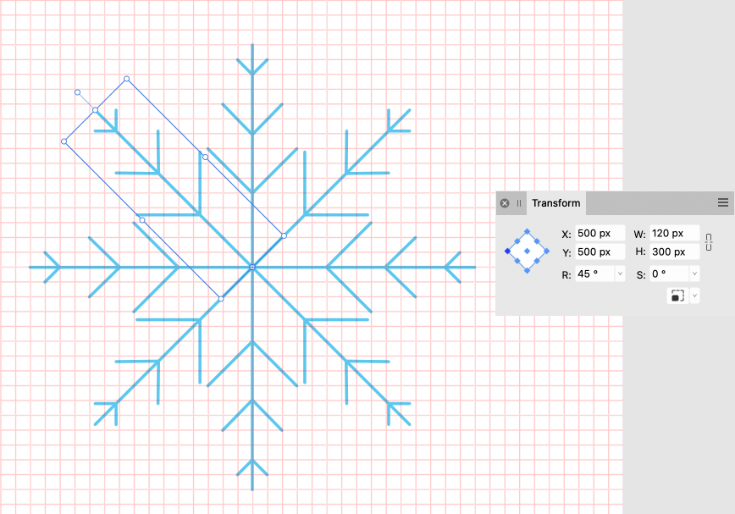
- In the Layers panel, right-click on the Side layer and choose Duplicate.
- In the Transform panel, set the R (rotate) to minus 45 degrees. (see screenshot)
- Repeat the previous two steps to duplicate the other sides of the snowflake. Rotate each side to the amount below. (see screenshot)
We will use the default grid in Affinity Designer to help us draw the lines for our snowflake.
Let's draw the first side of the snowflake.
Next, we will add a few shorter lines.
Now that we have drawn the first side or arm of the snowflake, let's group all the layers together.
Now it's time to duplicate the side and rotate each duplicate into place to create the snowflake.
Side 3 - minus 90 degrees
Side 4 - minus 135 degrees
Side 5 - 180 degrees
Side 6 - 135 degrees
Side 7 - 90 degrees
Side 8 - 45 degrees
One of the most popular Christmas icons is the snowflake. They can be the main feature of your design or just small additions spattered around your illustration. They can vary in size, number of sides, amount of details and more. Add your snowflakes to your holiday motifs collection (see screenshot).
Index - How to Draw a Holiday Theme Collection of Elements
Affinity® Designer screenshots used by permission of Serif(R) (Europe) Ltd. This article is not endorsed by Serif Ltd.

Related Articles
Editor's Picks Articles
Top Ten Articles
Previous Features
Site Map
Content copyright © 2023 by Diane Cipollo. All rights reserved.
This content was written by Diane Cipollo. If you wish to use this content in any manner, you need written permission. Contact Diane Cipollo for details.


