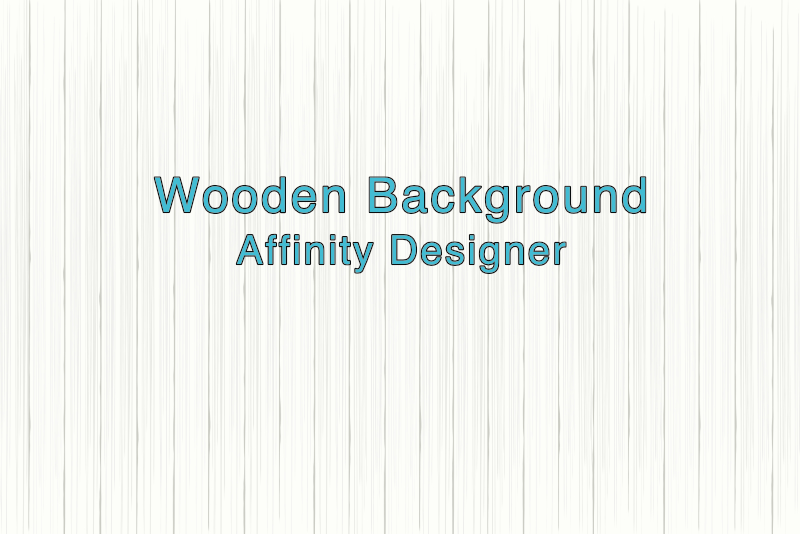
Wooden Background Graphic in Affinity Designer

In this Affinity Designer tutorial, we will create a background graphic for your next project. This background graphic will be an illustration of wood paneling. We want the background to have subtle details, so that it will not distract from the main subject.
I created the original for this project for my Creative Market shoppe. So we will be using the image dimension requirements for Creative Market. However, you can change the dimensions to match your needs. As we will be working with vectors in Affinity Designer, this background graphic could be resized for any image requirements. Finally, the image will be used online and not for print.
Let's open Affinity Designer and get started.
Next
Screenshots used by permission of Serif (Europe) Ltd. This article is not endorsed by Serif Ltd.
Powered by Creative Market
I created the original for this project for my Creative Market shoppe. So we will be using the image dimension requirements for Creative Market. However, you can change the dimensions to match your needs. As we will be working with vectors in Affinity Designer, this background graphic could be resized for any image requirements. Finally, the image will be used online and not for print.
Let's open Affinity Designer and get started.
- Click File - New to start a new document with the following settings (see screenshot).
- Select the Rectangle tool and set the Fill color to FDFDFA and the Stoke color to Null. Draw a rectangle over the entire canvas.
- Select the Pen tool. Set the Fill color to null and the Stroke color to CBCCC4. This color is slightly darker than the rectangle's base color.
- Click once at the top and left of the canvas.
- Hold down the Shift key on your keyboard, move the Pen tool to the bottom of the rectangle and click on the bottom edge.
- In the Transform panel, set the X value to 80 pixels.
- In the Brushes panel, select the Inks category. Click the fourth brush from the top of the list, which is named Jagged Ink (see screenshot). You can see the name of each brush by placing your cursor over the brush thumbnail in the Brushes panel.
- In the Context Toolbar, set the Stroke width to 10 points (see screenshot).
- With the line still selected, open the Panel Preferences menu for the Swatches panel and click Add Document Palette. You will see a new Unnamed palette added. Open the menu again and choose Rename Palette. Name the new palette WoodTexture in the pop-up window. Although we don't have any swatches now, let's make the swatches as large as possible. From the menu choose Appearance - Show as List and then Appearance - Large.
- Again with the line still selected, click the second small icon to the right of the palette name, to set the color as a global color. You will see a new color swatch appear. The small tab at the bottom left indicates that this is a global color.
- Right-click on the swatch and choose Rename Global Color. In the pop-up window, add Panel Lines.
- Right-click on the bottom rectangle.
- From the pop-up menu, choose Add to Swatches - From Fill as Global.
- In the Swatches panel, rename the new swatch Base Color and drag it above the Panel Lines swatch (see screenshot).
Width 1820
Height 1214
DPI 96
Document Units Pixels
Color Format RGB/8
Color Profile sRGB IEC61966-2.1
Transparent Background Checked
We will add an off-white colored rectangle as the base color.
We want to create the look of individual boards or paneling. Let's add some vertical lines to divide the rectangle into sections. As we want to repeat these lines across the graphic, we can use the Power Duplicate feature. We will draw the first line at the left side of the rectangle about 80 pixels from the left edge (see screenshot).
Let's apply a brush to the stroke to make it look more like wood paneling.
The brush will be added with the default Stroke Width, which for this brush is 48 points (see screenshot). We need to reduce this width to 10 points.
We have one last task to do. We want to save the stroke color that we applied to the line as a Global Color (see screenshot). We will use this Global Color later, to quickly and easily recolor the design. Let's set up the Swatches panel.
Now we are ready to add our first global color, which will be the color of the object selected. In our case, that's the line that we selected above.
Right now the global color is named Global Color 1. Let's rename it to Panel Lines.
Now that we have the Global Color and Document Palette set up in the Swatches panel, let's add as a Global Color the background base color that we used for the bottom
rectangle (see screenshot).
Next
Screenshots used by permission of Serif (Europe) Ltd. This article is not endorsed by Serif Ltd.
Powered by Creative Market

Related Articles
Editor's Picks Articles
Top Ten Articles
Previous Features
Site Map
Content copyright © 2023 by Diane Cipollo. All rights reserved.
This content was written by Diane Cipollo. If you wish to use this content in any manner, you need written permission. Contact Diane Cipollo for details.


