
How to Draw Xmas Stocking in Illustrator

In this Adobe Illustrator® tutorial, we will create a Xmas stocking design for the holidays. This tutorial will give you practice with the Pen tool, Smooth tool, Direct Selection tool and the Pathfinder panel in Illustrator.
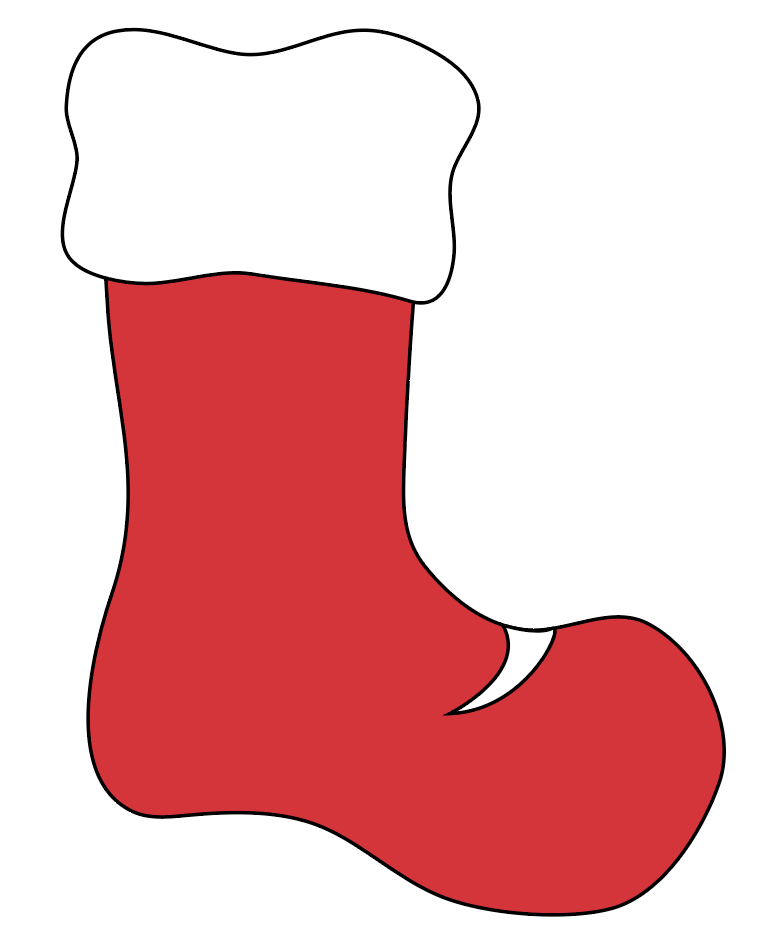
We will start with a rough drawing of the stocking and then smooth out the lines with the Smooth tool. Once we have the stocking shape, we will add the white fur, shadows and highlights.
Open Illustrator and we will get started.
Index - How to Draw a Holiday Theme Collection of Elements
copyright 2023 Adobe Systems Incorporated. All rights reserved. Adobe(R) product screen shot(s) reprinted with permission from Adobe Systems Incorporated. Adobe, Photoshop, Photoshop Album, Photoshop Elements, Illustrator, InDesign, GoLive, Acrobat, Cue, Premiere Pro, Premiere Elements, Bridge, After Effects, InCopy, Dreamweaver, Flash, ActionScript, Fireworks, Contribute, Captivate, Flash Catalyst and Flash Paper is/are either a registered trademark(s) or a trademark(s) of Adobe Systems Incorporated in the United States and/or other countries.
We will start with a rough drawing of the stocking and then smooth out the lines with the Smooth tool. Once we have the stocking shape, we will add the white fur, shadows and highlights.
Open Illustrator and we will get started.
- Start a new project document at 1000 x 1000 at 144 dpi for web/mobile or 300 dpi for print.
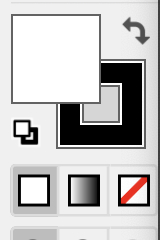
- With the Pen tool, set the Fill to white and the Stroke to black (see screenshot).
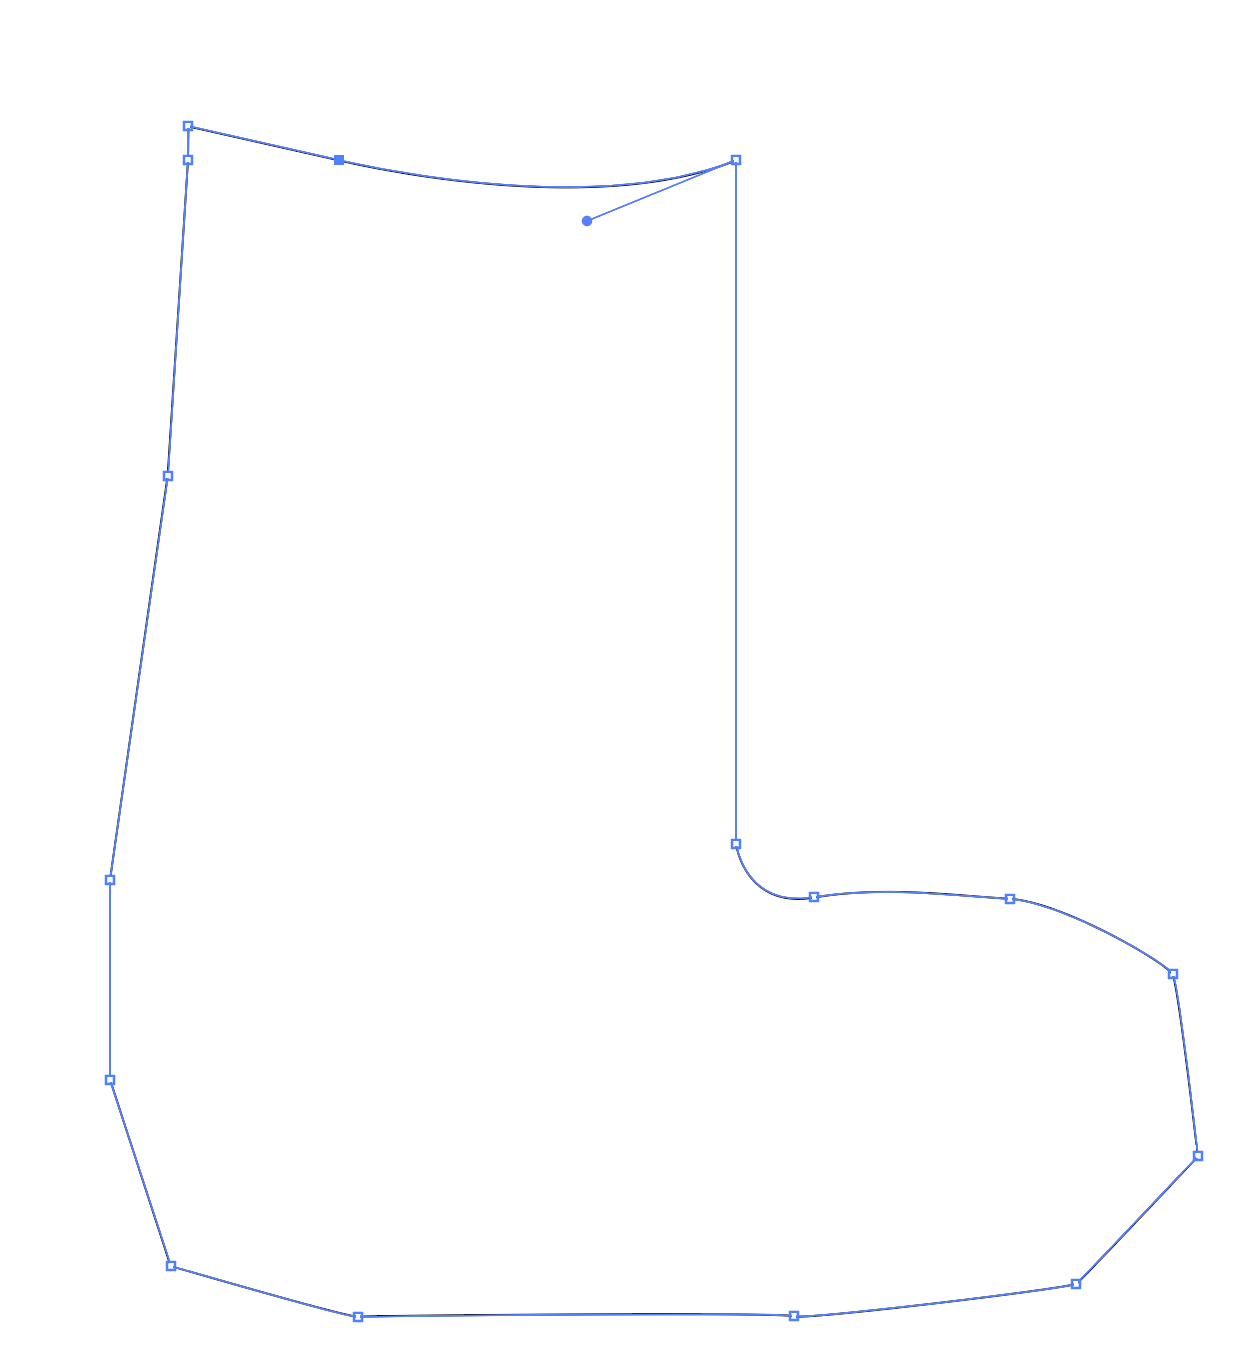
- Make a rough drawing of a stocking (see screenshot).
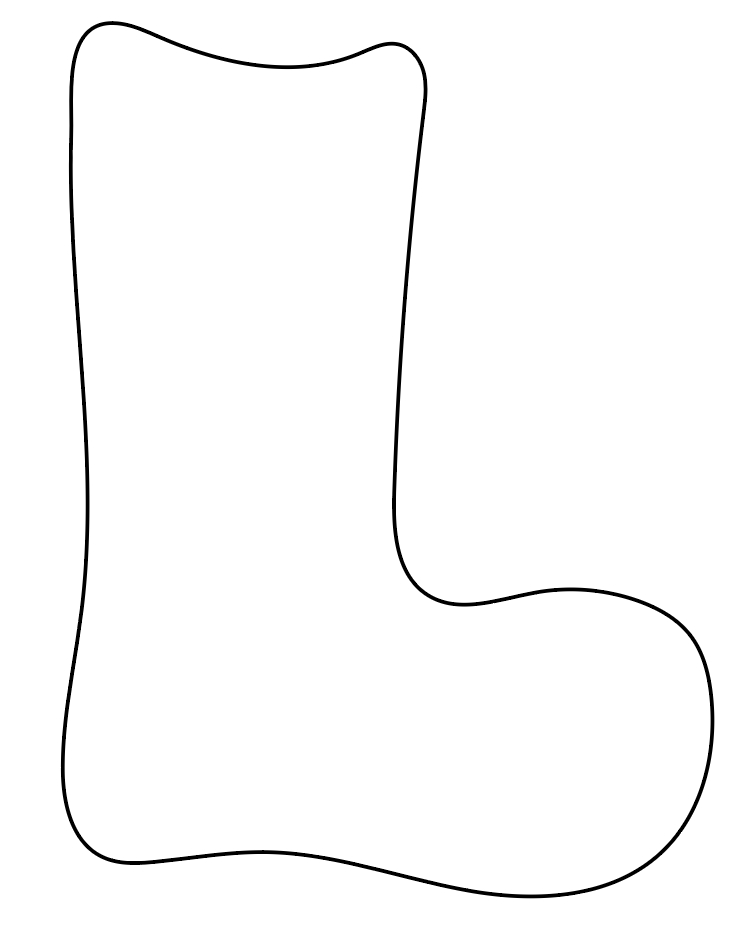
- Use the Smooth tool and the Direct Selection tool to refine your drawing (see screenshot).
- In the Layers panel, name this layer stocking (see screenshot).
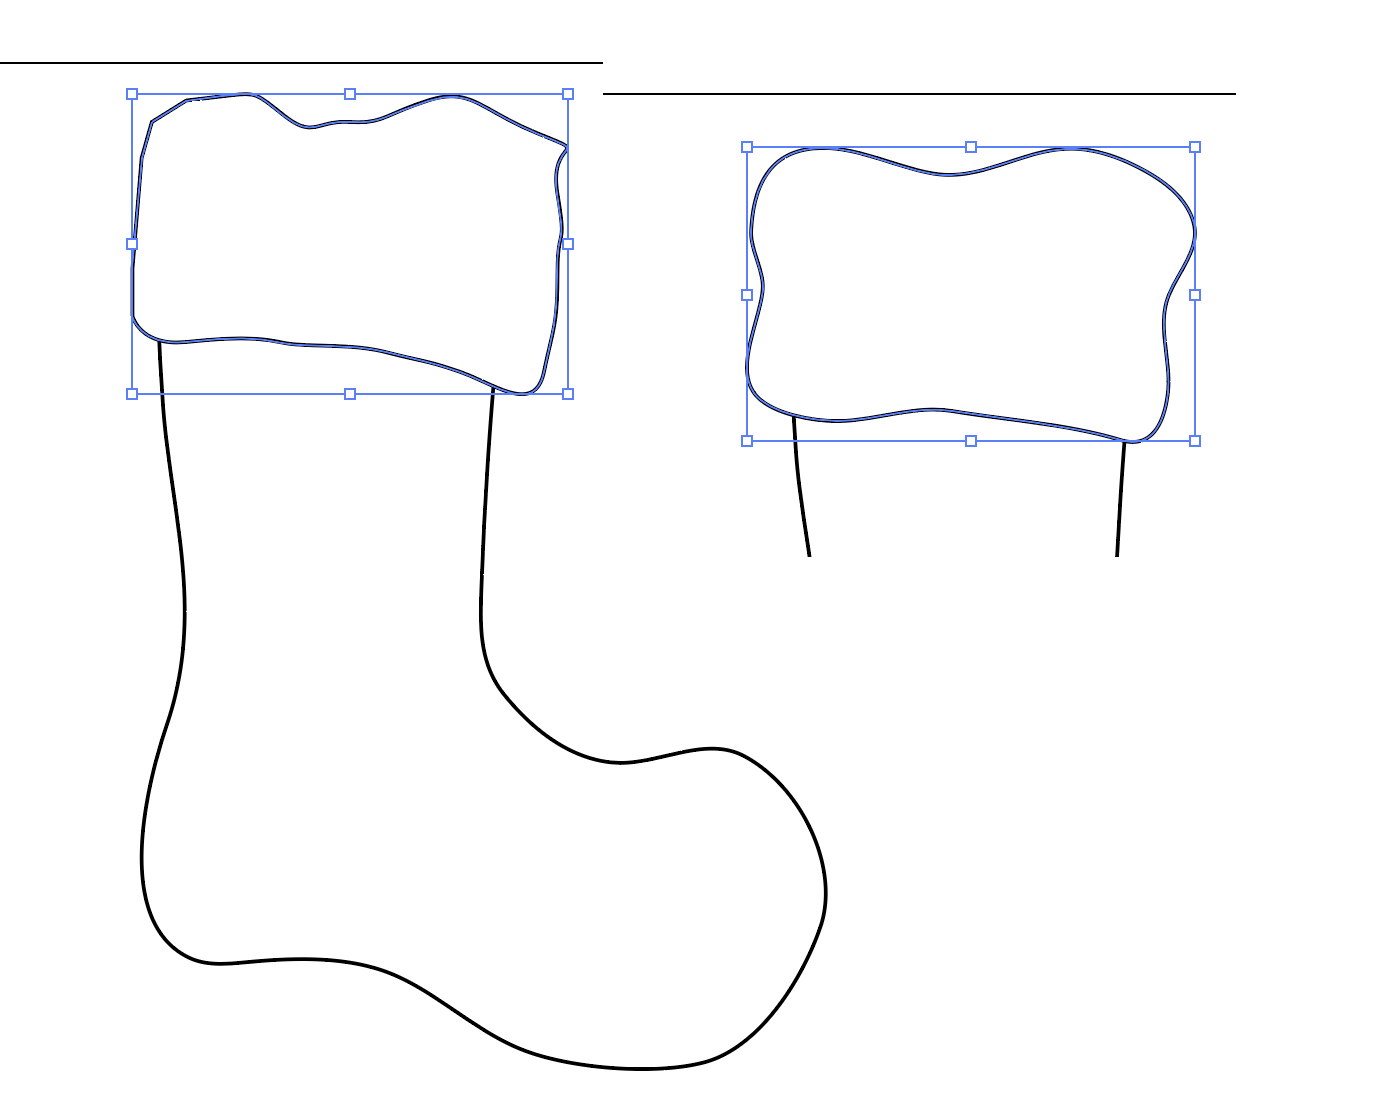
- Repeat the previous steps to draw the fur of the top of the stocking (see screenshot).
- Name this layer cuff (see screenshot).
- With the Pen tool, draw a triangle shape at the top of the stocking, with the smallest side of the triangle matched to the outline of the stocking (see screenshot).
- Name this layer shadow 1 (see screenshot).
- Select the stocking layer. In the Toolbar, change the Fill to E71933.
- Select the shadow 1 layer. In the Toolbar, set the Fill to A10014 and the Stroke to Null.
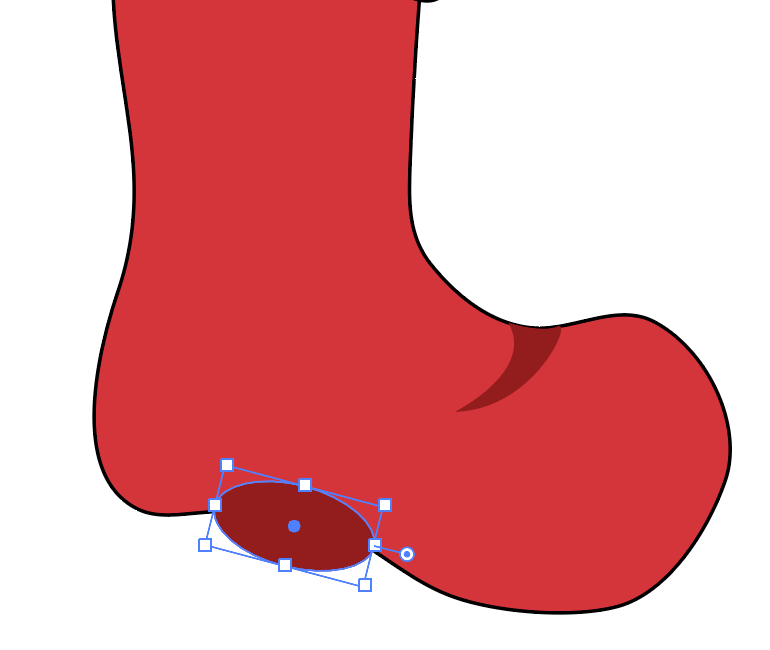
- With the Ellipse tool, draw an oval shape at the center of the bottom of the sock (see screenshot).
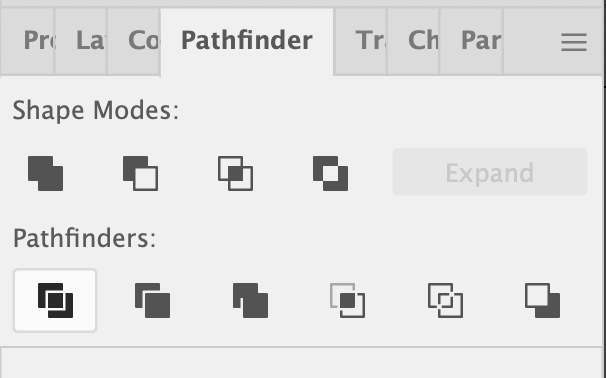
- In the Layers panel, drag the ellipse layer to just above the stocking layer and select both layers.
- In the Pathfinder panel, click the Divide icon (bottom left) (see screenshot).
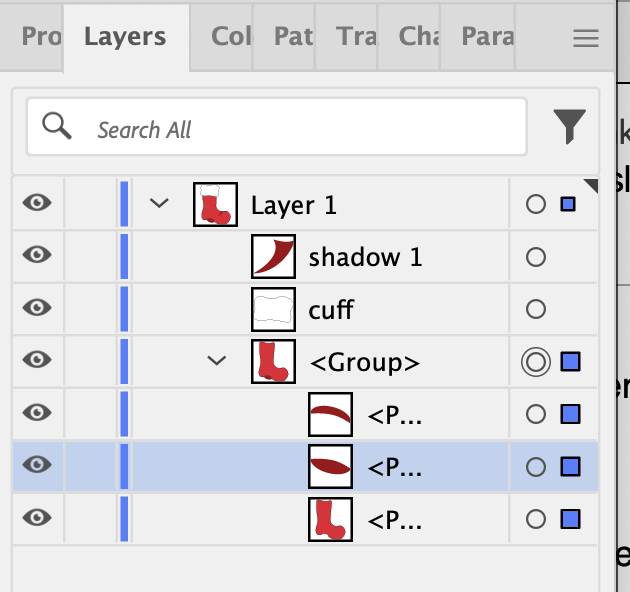
- In the Layers panel, open the new group layer and delete the outside part of the oval (see screenshot).
- Draw a small triangle for the shadow on the left side of the cuff, as you did previously by the toe area. In the Toolbar, set the fill to E5E3E3 and the Stroke to Null.
- Repeat the previous step to draw a second shadow on the right edge of the cuff.
Now, we will add a shadow to indicate the fold in the stocking. We will draw a shadow by the toe area.
We will add some red color (E71933) to the stocking.
Now we will change the shadow to a darker color of red (A10014) (see screenshot).
We will draw a second shadow at the bottom of the sock.
Now we will cut away the part of the oval that extends outside of the stocking.
Finally, we will add two more shadows to the stocking fur (see screenshot).
Index - How to Draw a Holiday Theme Collection of Elements
copyright 2023 Adobe Systems Incorporated. All rights reserved. Adobe(R) product screen shot(s) reprinted with permission from Adobe Systems Incorporated. Adobe, Photoshop, Photoshop Album, Photoshop Elements, Illustrator, InDesign, GoLive, Acrobat, Cue, Premiere Pro, Premiere Elements, Bridge, After Effects, InCopy, Dreamweaver, Flash, ActionScript, Fireworks, Contribute, Captivate, Flash Catalyst and Flash Paper is/are either a registered trademark(s) or a trademark(s) of Adobe Systems Incorporated in the United States and/or other countries.

Related Articles
Editor's Picks Articles
Top Ten Articles
Previous Features
Site Map
Content copyright © 2023 by Diane Cipollo. All rights reserved.
This content was written by Diane Cipollo. If you wish to use this content in any manner, you need written permission. Contact Diane Cipollo for details.


