
Plaid Background and Power Duplicate
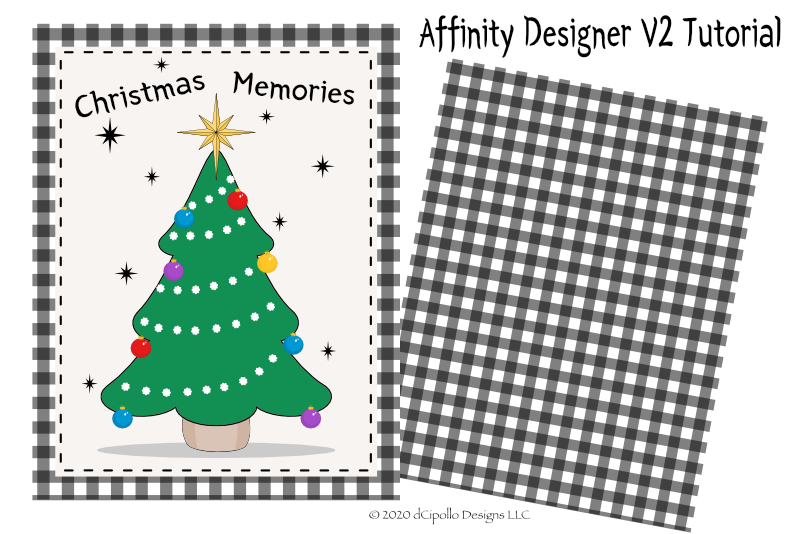
In the previous Affinity Designer 2 tutorial, we set up the basic line that we will use to create a country style plaid pattern. Now it's time to duplicate that line downward from the top to bottom of the Canvas.
The Power Duplicate feature is a great way to make many duplications of the same object. First, you duplicate the original object once and then use Power Duplicate to create many more.
Back
Powered by Creative Market Screenshots used by permission of Serif (Europe) Ltd. This article is not endorsed by Serif Ltd.
The Power Duplicate feature is a great way to make many duplications of the same object. First, you duplicate the original object once and then use Power Duplicate to create many more.
- Select the line with the Move tool. Click Edit - Duplicate from the Menubar (see screenshot). Now, go to the Transform panel and set the Y value to 100 (see screenshot). This should move the second line below the first by 50 pixels.
- From the Menubar, click Edit - Duplicate again. You should see a third line added 50 pixels below the second. Repeat this step until you fill the canvas (see screenshot).
- Select the bottom line with the Move tool and drag it downward until the bottom edges of the line and the canvas overlap.
- With the Move tool still selected, select all the layers in the Layers panel. Now, from the Menubar, click Layer - Alignment - Distribute Vertically (see screenshot).
- With all layers still selected, right-click and choose Group, to group all the layers together (see screenshot).
- With the Rectangle tool, draw a vertical line next to the left edge of the Canvas and set the following values in the Transform panel (see screenshot).
- Set the Opacity of the vertical line to 50%.
Now, we will use the Power Duplicate feature to repeat this line downward.
Finally, we need to distribute all the lines evenly vertically. Our first step is to move the last line to the bottom edge of the canvas.
Now that we have the horizontal lines completed, let's draw a vertical line with the Rectangle tool.
X Zero
Y Zero
Width 50 pixels
Height 3300 pixels
Now, repeat the entire process to duplicate the vertical lines horizontally across the Canvas. Once you have all the lines, distribute theses lines evenly horizontally (Layer - Alignment - Distribute Horizontally) (see screenshot). Group all of these lines together.
Back
Powered by Creative Market Screenshots used by permission of Serif (Europe) Ltd. This article is not endorsed by Serif Ltd.

Related Articles
Editor's Picks Articles
Top Ten Articles
Previous Features
Site Map
Content copyright © 2023 by Diane Cipollo. All rights reserved.
This content was written by Diane Cipollo. If you wish to use this content in any manner, you need written permission. Contact Diane Cipollo for details.


