Maker Profile - Akinz
So, you have a skill, and you're thinking, "wouldn't it be amazing to run a business doing what I love?" When I was sitting on my couch making Christmas gifts and dreaming of days spent crocheting and sipping tea, I had no idea what the life of a maker is actually like.
If you're looking at starting an Etsy shop, opening a boutique, or even wholesaling your handmade products to local boutiques, this series of maker profiles is for you. It's full of insight, wisdom, and ideas for making your business a success, from the people already in the trenches.
My first profile is Suzanne Akin. She runs a boutique in Colorado, and offers her products online as well. I was impressed with the way she has just plowed ahead and made things happen in her business, no matter the obstacle.
Tell me what inspired you to start your business.
I’ve wanted to be a fashion designer since I was a little girl and studied design in college, but I had followed a different career path until I was inspired by the sports I participate in and the outdoors to start designing again for a different audience.
What is it like to see your design ideas become a reality as a maker? What's your process for coming up with new designs?
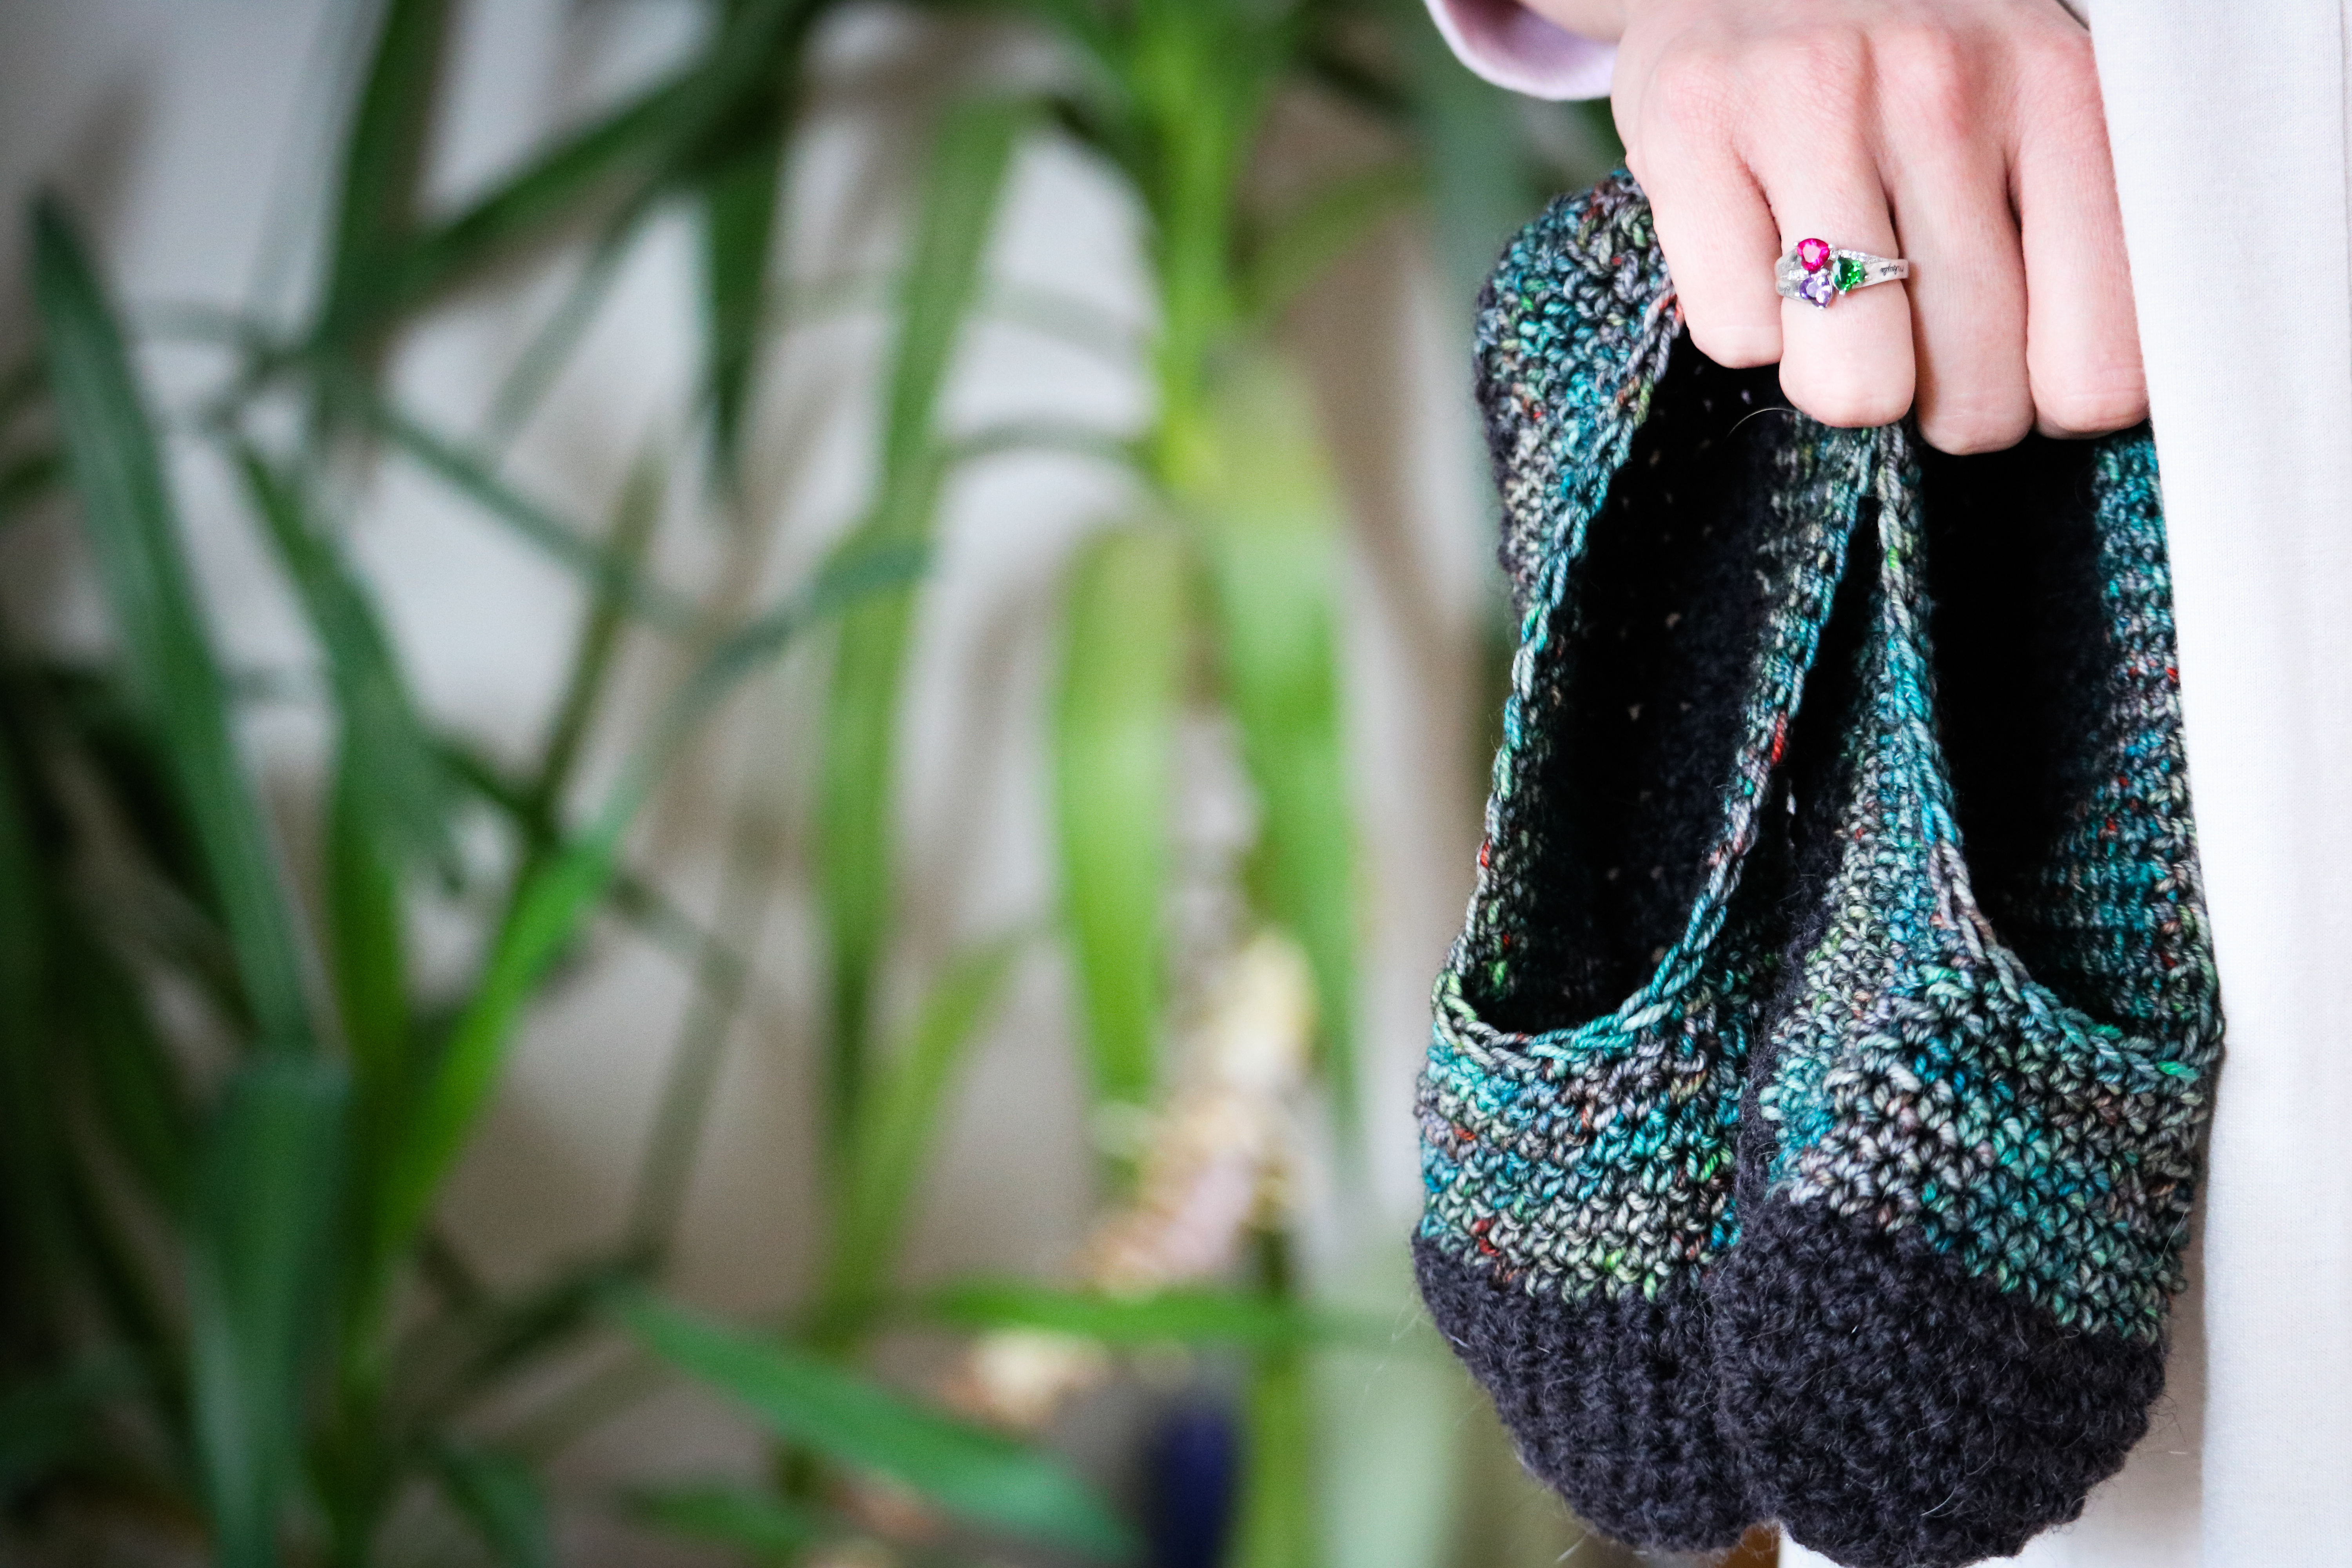
This is my favorite part of my ‘job’ is seeing something I dreamed up become a reality. When I’m designing for shirts, I get inspired by travel and the outdoors. When I’m designing for crochet and knit pieces though, I think of a combination of fashion & function. How can I improve on my previous designs and make them more eye-catching? How can I fill a need that’s not currently being met in the market? How can I take something that currently exists and make it better?
What's it like to have a physical boutique? Was that your plan from the beginning?
I had always toyed with the idea of having a boutique, but that idea had been far gone for a while. I planned on being more mobile with my brand… traveling to events and selling online. However, when I started printing my own shirts, the necessity of having a production space became part of the brand when I decided to bring our production into a storefront. Now I really like the fact that people can come into our store and see us creating the products, although I would love to get to a point where I can have someone else run the store and I could travel more.
What's your advice on pricing structure for crochet makers? Any advice on wholesaling?
Pricing structure is so hard for makers because it often takes you longer to produce an item than people want to pay. I think you need to decide from the beginning if you are interested in wholesaling your work and if you are interested in expanding past yourself for production. Boutiques expect to pay 1/2 of the retail price for a product to wholesale, so you need to build that in from the beginning. Also make sure you are paying yourself for what your time is worth. I learned that the hard way when I started having to pay other people to help me make my products. Try to think of all the factors from the beginning. Your customers will respond much better if you decide to lower your prices than if you have to raise them. :)
What's your best piece of life wisdom for someone who wants to turn their skill into a profitable business?
Decide what you want out of your business from the start and stay true to that path. If it is just a hobby, then great! Don’t put too much pressure on yourself then. If you want it to be a business, then you have to stop acting like it is a hobby and treat it as a business! :) Get serious with your marketing, your finances and your business structure and shoot for the stars. :)
And finally, because this is a crochet crowd, what's your favorite crochet stitch?
I probably have to say star stitch because the first beanie I ever made for the brand was a full star stitch beanie.
Wow. There you have it, folks. Pure gold wisdom from someone producing beautiful products using her crochet skills. I'm so thankful for Suzanne's insights into her life as a maker, and hope you gained as much from her answers as I did!
Check out her online boutique to see all of her products! Akinz

If you're looking at starting an Etsy shop, opening a boutique, or even wholesaling your handmade products to local boutiques, this series of maker profiles is for you. It's full of insight, wisdom, and ideas for making your business a success, from the people already in the trenches.
My first profile is Suzanne Akin. She runs a boutique in Colorado, and offers her products online as well. I was impressed with the way she has just plowed ahead and made things happen in her business, no matter the obstacle.
Tell me what inspired you to start your business.
I’ve wanted to be a fashion designer since I was a little girl and studied design in college, but I had followed a different career path until I was inspired by the sports I participate in and the outdoors to start designing again for a different audience.
What is it like to see your design ideas become a reality as a maker? What's your process for coming up with new designs?
This is my favorite part of my ‘job’ is seeing something I dreamed up become a reality. When I’m designing for shirts, I get inspired by travel and the outdoors. When I’m designing for crochet and knit pieces though, I think of a combination of fashion & function. How can I improve on my previous designs and make them more eye-catching? How can I fill a need that’s not currently being met in the market? How can I take something that currently exists and make it better?
What's it like to have a physical boutique? Was that your plan from the beginning?
I had always toyed with the idea of having a boutique, but that idea had been far gone for a while. I planned on being more mobile with my brand… traveling to events and selling online. However, when I started printing my own shirts, the necessity of having a production space became part of the brand when I decided to bring our production into a storefront. Now I really like the fact that people can come into our store and see us creating the products, although I would love to get to a point where I can have someone else run the store and I could travel more.
What's your advice on pricing structure for crochet makers? Any advice on wholesaling?
Pricing structure is so hard for makers because it often takes you longer to produce an item than people want to pay. I think you need to decide from the beginning if you are interested in wholesaling your work and if you are interested in expanding past yourself for production. Boutiques expect to pay 1/2 of the retail price for a product to wholesale, so you need to build that in from the beginning. Also make sure you are paying yourself for what your time is worth. I learned that the hard way when I started having to pay other people to help me make my products. Try to think of all the factors from the beginning. Your customers will respond much better if you decide to lower your prices than if you have to raise them. :)
What's your best piece of life wisdom for someone who wants to turn their skill into a profitable business?
Decide what you want out of your business from the start and stay true to that path. If it is just a hobby, then great! Don’t put too much pressure on yourself then. If you want it to be a business, then you have to stop acting like it is a hobby and treat it as a business! :) Get serious with your marketing, your finances and your business structure and shoot for the stars. :)
And finally, because this is a crochet crowd, what's your favorite crochet stitch?
I probably have to say star stitch because the first beanie I ever made for the brand was a full star stitch beanie.
Wow. There you have it, folks. Pure gold wisdom from someone producing beautiful products using her crochet skills. I'm so thankful for Suzanne's insights into her life as a maker, and hope you gained as much from her answers as I did!
Check out her online boutique to see all of her products! Akinz
You Should Also Read:
Maker Profile - Leah & Stitch
Maker Profile - EcoSoles

Related Articles
Editor's Picks Articles
Top Ten Articles
Previous Features
Site Map
Content copyright © 2023 by Holly Messenger Aamot. All rights reserved.
This content was written by Holly Messenger Aamot. If you wish to use this content in any manner, you need written permission. Contact Holly Messenger Aamot for details.