
Design Business Card Front Template Photoshop CC
In this tutorial, we will add the design elements to our business card front template. In the last tutorial, we already have built the foundation for the business card template in Photoshop CC, resulting in a template with a separate artboard for the front and back of the business card. We also added lines for the bleed, trim and safe areas.
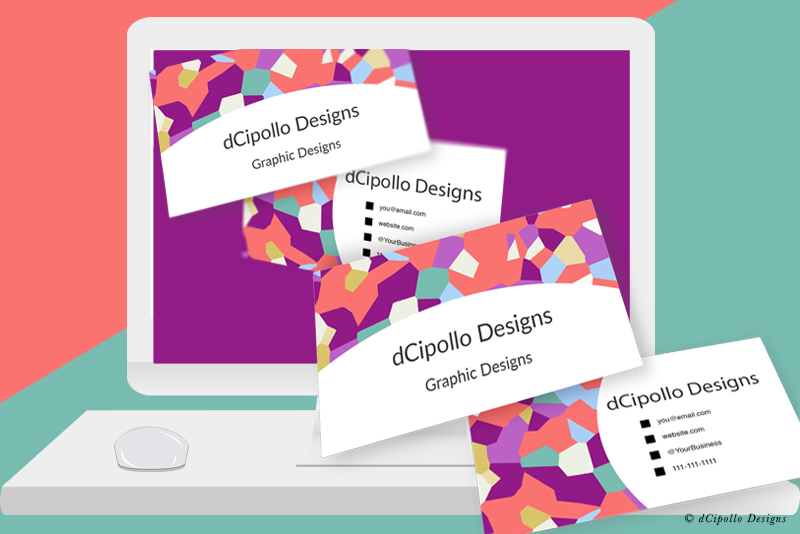
But the template is empty of any design elements (see screenshot), such as a background graphic, text or shapes. In this tutorial, we will begin by adding a placeholder background graphic as a smart object, making it easier to replace the placeholder with the design graphic. Next, we will add placeholders for text that is usually included on a business card. On the front of the card, we will put the personal/business name and tagline and on the card back we could put contact information.
As we add design elements, the Layers panel may become disorganized. So, we will organize some layers into group folders. For example, the text layers can be combined in to a group folder. Also, if you have more than one background graphic, such as several different textures, we can combine these into a group folder. Finally, we can color code these layers and folders. Of course, you can use any color combination, but for this example we will use red for text, green for graphics and shapes and blue for the instructions.
Note: The final placement, font and style of the text will be changed as it will be influenced by the background design.
Back|Next
Copyright 2018 Adobe Systems Incorporated. All rights reserved. Adobe product screen shot(s) reprinted with permission from Adobe Systems Incorporated. Adobe, Photoshop, Photoshop Album, Photoshop Elements, Illustrator, InDesign, GoLive, Acrobat, Cue, Premiere Pro, Premiere Elements, Bridge, After Effects, InCopy, Dreamweaver, Flash, ActionScript, Fireworks, Contribute, Captivate, Flash Catalyst and Flash Paper is/are either [a] registered trademark[s] or a trademark[s] of Adobe Systems Incorporated in the United States and/or other countries.
But the template is empty of any design elements (see screenshot), such as a background graphic, text or shapes. In this tutorial, we will begin by adding a placeholder background graphic as a smart object, making it easier to replace the placeholder with the design graphic. Next, we will add placeholders for text that is usually included on a business card. On the front of the card, we will put the personal/business name and tagline and on the card back we could put contact information.
As we add design elements, the Layers panel may become disorganized. So, we will organize some layers into group folders. For example, the text layers can be combined in to a group folder. Also, if you have more than one background graphic, such as several different textures, we can combine these into a group folder. Finally, we can color code these layers and folders. Of course, you can use any color combination, but for this example we will use red for text, green for graphics and shapes and blue for the instructions.
Add Background Design or Texture Graphic
I use a simple grid graphic as my placeholder background graphic. The template user can easily change the graphic because it will be a smart object. Let's add the background graphic for the card front.- Select the Business Card Front artboard.
- Add you placeholder graphic (see screenshot).
- Drag the new layer below the Lines layer, so that we can see the lines as we add design elements.
As the artist might want to switch this graphic for their own, let's tell them this is possible by the label that we give to this layer. - Rename the layer to [YOUR BACKGROUND DESIGN HERE].
- Right-click on the layer and choose Convert to Smart Object from the pop-up menu.
Add Text
Now we are ready to add our business or personal name and tagline to the card front. In the example, I used the Raleway Typekit font, which is free with any Creative Cloud membership or free trial membership. As the name is the most important information, let's set the font style as Bold and the size to 18 pt (see screenshot). We will also center the text.Note: The final placement, font and style of the text will be changed as it will be influenced by the background design.
- Select the Type tool and add the placeholder text Business Name (see screenshot).
- Change the name of the layer to [YOUR NAME HERE]
- Repeat the previous step to add the placeholder text for the tagline or profession. Set the font to a smaller size 14 pt and add the placeholder text Tagline.
- Change the name of the layer to [YOUR TAGLINE HERE] (see screenshot) and drag it under the [YOUR NAME HERE] layer.
Next, we will center the text. - With both text layers selected, switch to the Move tool. In the Options panel (see screenshot), use the Vertical Centers and Horizontal Centers Distribution buttons to center the text horizontally and vertically.
Both lines of text will be in the same position. Let's move the name above the tagline (see screenshot). - Select the [YOUR NAME HERE] layer and use the Move tool to move the name above the tagline.
Finally, let's combine the text layers in to a group folder (see screenshot). - Add a new group folder to the Layers panel and name it Text.
- Drag both text layers in to the folder.
- Select the background layer, so that the new layer will be added above.
- Draw a rectangle on the artboard with the Rectangle tool. You will want to set the following in the Options panel (see screenshot).
Mode: Shape
Shape Fill: White
Shape Stroke: Black
Shape Stroke Width: 5 px
Shape Stroke Type: Solid - Rename the layer [ADJUST BOX FILL & STROKE COLOR]
- Select the Instructions group layer and right-click on the Eye icon. Set the color to blue.
- Select the Lines layer in the Business Card Front folder and set the color to blue.
- Select the Text group folder in the Business Card Front folder and set the color to red.
- Select the shape and background layers and set the color to green.
Back|Next
Copyright 2018 Adobe Systems Incorporated. All rights reserved. Adobe product screen shot(s) reprinted with permission from Adobe Systems Incorporated. Adobe, Photoshop, Photoshop Album, Photoshop Elements, Illustrator, InDesign, GoLive, Acrobat, Cue, Premiere Pro, Premiere Elements, Bridge, After Effects, InCopy, Dreamweaver, Flash, ActionScript, Fireworks, Contribute, Captivate, Flash Catalyst and Flash Paper is/are either [a] registered trademark[s] or a trademark[s] of Adobe Systems Incorporated in the United States and/or other countries.

Related Articles
Editor's Picks Articles
Top Ten Articles
Previous Features
Site Map
Content copyright © 2023 by Diane Cipollo. All rights reserved.
This content was written by Diane Cipollo. If you wish to use this content in any manner, you need written permission. Contact Diane Cipollo for details.


