
Add a Footer to Your Blogger.com Blog

There are many uses for a footer at the bottom of your weblog. Many people use it to place copyright information, add a link to the web designer or to the main business that sponsors the blog. In this tutorial, we will add a copyright footer to our blog. This is just for teaching purposes. I am not a lawyer and you will want to use your own copyright text in the footer for your own blog. Log into your BloggerTM account.
Screen shots reprinted by permission from Google Inc. GoogleTM, BloggerTM and BlogSpotTM are either registered trademarks or trademarks of Google Inc. in the United States and/or other countries. |
This site needs an editor - click to learn more!

Related Articles
Editor's Picks Articles
Top Ten Articles
Previous Features
Site Map
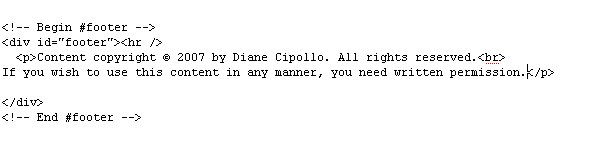
Content copyright © 2023 by Diane Cipollo. All rights reserved.
This content was written by Diane Cipollo. If you wish to use this content in any manner, you need written permission. Contact
BellaOnline Administration
for details.

