Basic Quick Puff Pastry Recipe
Frozen puff pastry is a real timesaver, and makes it possible to create flaky desserts quickly. However, most frozen puff pastry is made with shortening, and compared to homemade versions made with butter, is definitely substandard. Of course, it takes more time to create buttery, flaky puff pastry, but the flavor and texture are really worth it. The following recipe and method has been adapted from one of Julia Child’s books, and while still a bit of work, turns out perfectly every time. Although not absolutely necessary, a stand mixer such as a Kitchen-Aid with a flat beater is especially helpful when preparing the dough, as it cuts the butter in the right size pieces and helps incorporate them without a lot of effort on your part. If you don’t have one, you can use an old fashioned pastry blender.
Once you taste homemade puff pastry, you’ll rarely opt for the frozen, non-butter stuff. You can make hundreds of fancy desserts with this pastry, so it’s a good idea to keep some in the freezer so that it’s ready when you are. It’s also a good idea to have a sturdy rolling pin, since the chilled dough is sometimes difficult to roll and must be pounded down a little during the rolling process. And, as a bonus, this dough gives the arms a good workout.
Makes approximately 1 pound of pastry - 24 Servings (more or less depending on the recipe)
3 cups flour
1 cup cake flour
6 1/2 sticks well-chilled butter (3 1/4 cups)
1 1/2 teaspoons salt
1 cup ice water
Amount Per Serving
Calories 99 Calories from Fat 29
Percent Total Calories From: Fat 30% Protein 8% Carb. 62%
Nutrient Amount per Serving
Total Fat 3 g
Saturated Fat 2 g
Cholesterol 8 mg
Sodium 177 mg
Total Carbohydrate 15 g
Dietary Fiber 0 g
Sugars 0 g
Protein 2 g
Vitamin A 2% Vitamin C 0% Calcium 0% Iron 3%
Once you taste homemade puff pastry, you’ll rarely opt for the frozen, non-butter stuff. You can make hundreds of fancy desserts with this pastry, so it’s a good idea to keep some in the freezer so that it’s ready when you are. It’s also a good idea to have a sturdy rolling pin, since the chilled dough is sometimes difficult to roll and must be pounded down a little during the rolling process. And, as a bonus, this dough gives the arms a good workout.
Makes approximately 1 pound of pastry - 24 Servings (more or less depending on the recipe)
3 cups flour
1 cup cake flour
6 1/2 sticks well-chilled butter (3 1/4 cups)
1 1/2 teaspoons salt
1 cup ice water
- Measure the flour into a large mixing bowl.
- Make sure the butter is very cold and cut it into 1/2 inch pieces; add to the flour along with the salt.
- Using the flat beater on the mixer, cut the butter in until the pieces are roughly the size of large lima beans.
- With the mixer running at low speed, add the water and mix just until the dough begins to hold together.
- Transfer the dough to a floured work surface – a pastry cloth is ideal.
- Bring the rough dough together and roll it out into a rectangle about 12 x 18 inches. It will not be particularly smooth, and will look messy, but this is as it should be.
- Lightly flour the top of the dough and, with a dough scraper to help you, flip the bottom of the rectangle up over the middle, and then flip the top down to cover it, as though folding a business letter.
- Lift the dough off work surface with the dough scraper; scrape the work surface clean, flour the surface lightly, and return dough to it, setting it down in front of you so that the top flap is at your right.
- Lightly flour the top of the dough, and roll it out again into a rectangle; it will look a little less messy.
- Fold again into three as before - each of these roll-and-fold operations is called a "turn."
- Roll out and fold 2 more times, making 4 turns in all, and by the last one, the pastry should actually look like dough.
- You should see large flakes of butter scattered under the surface of the dough.
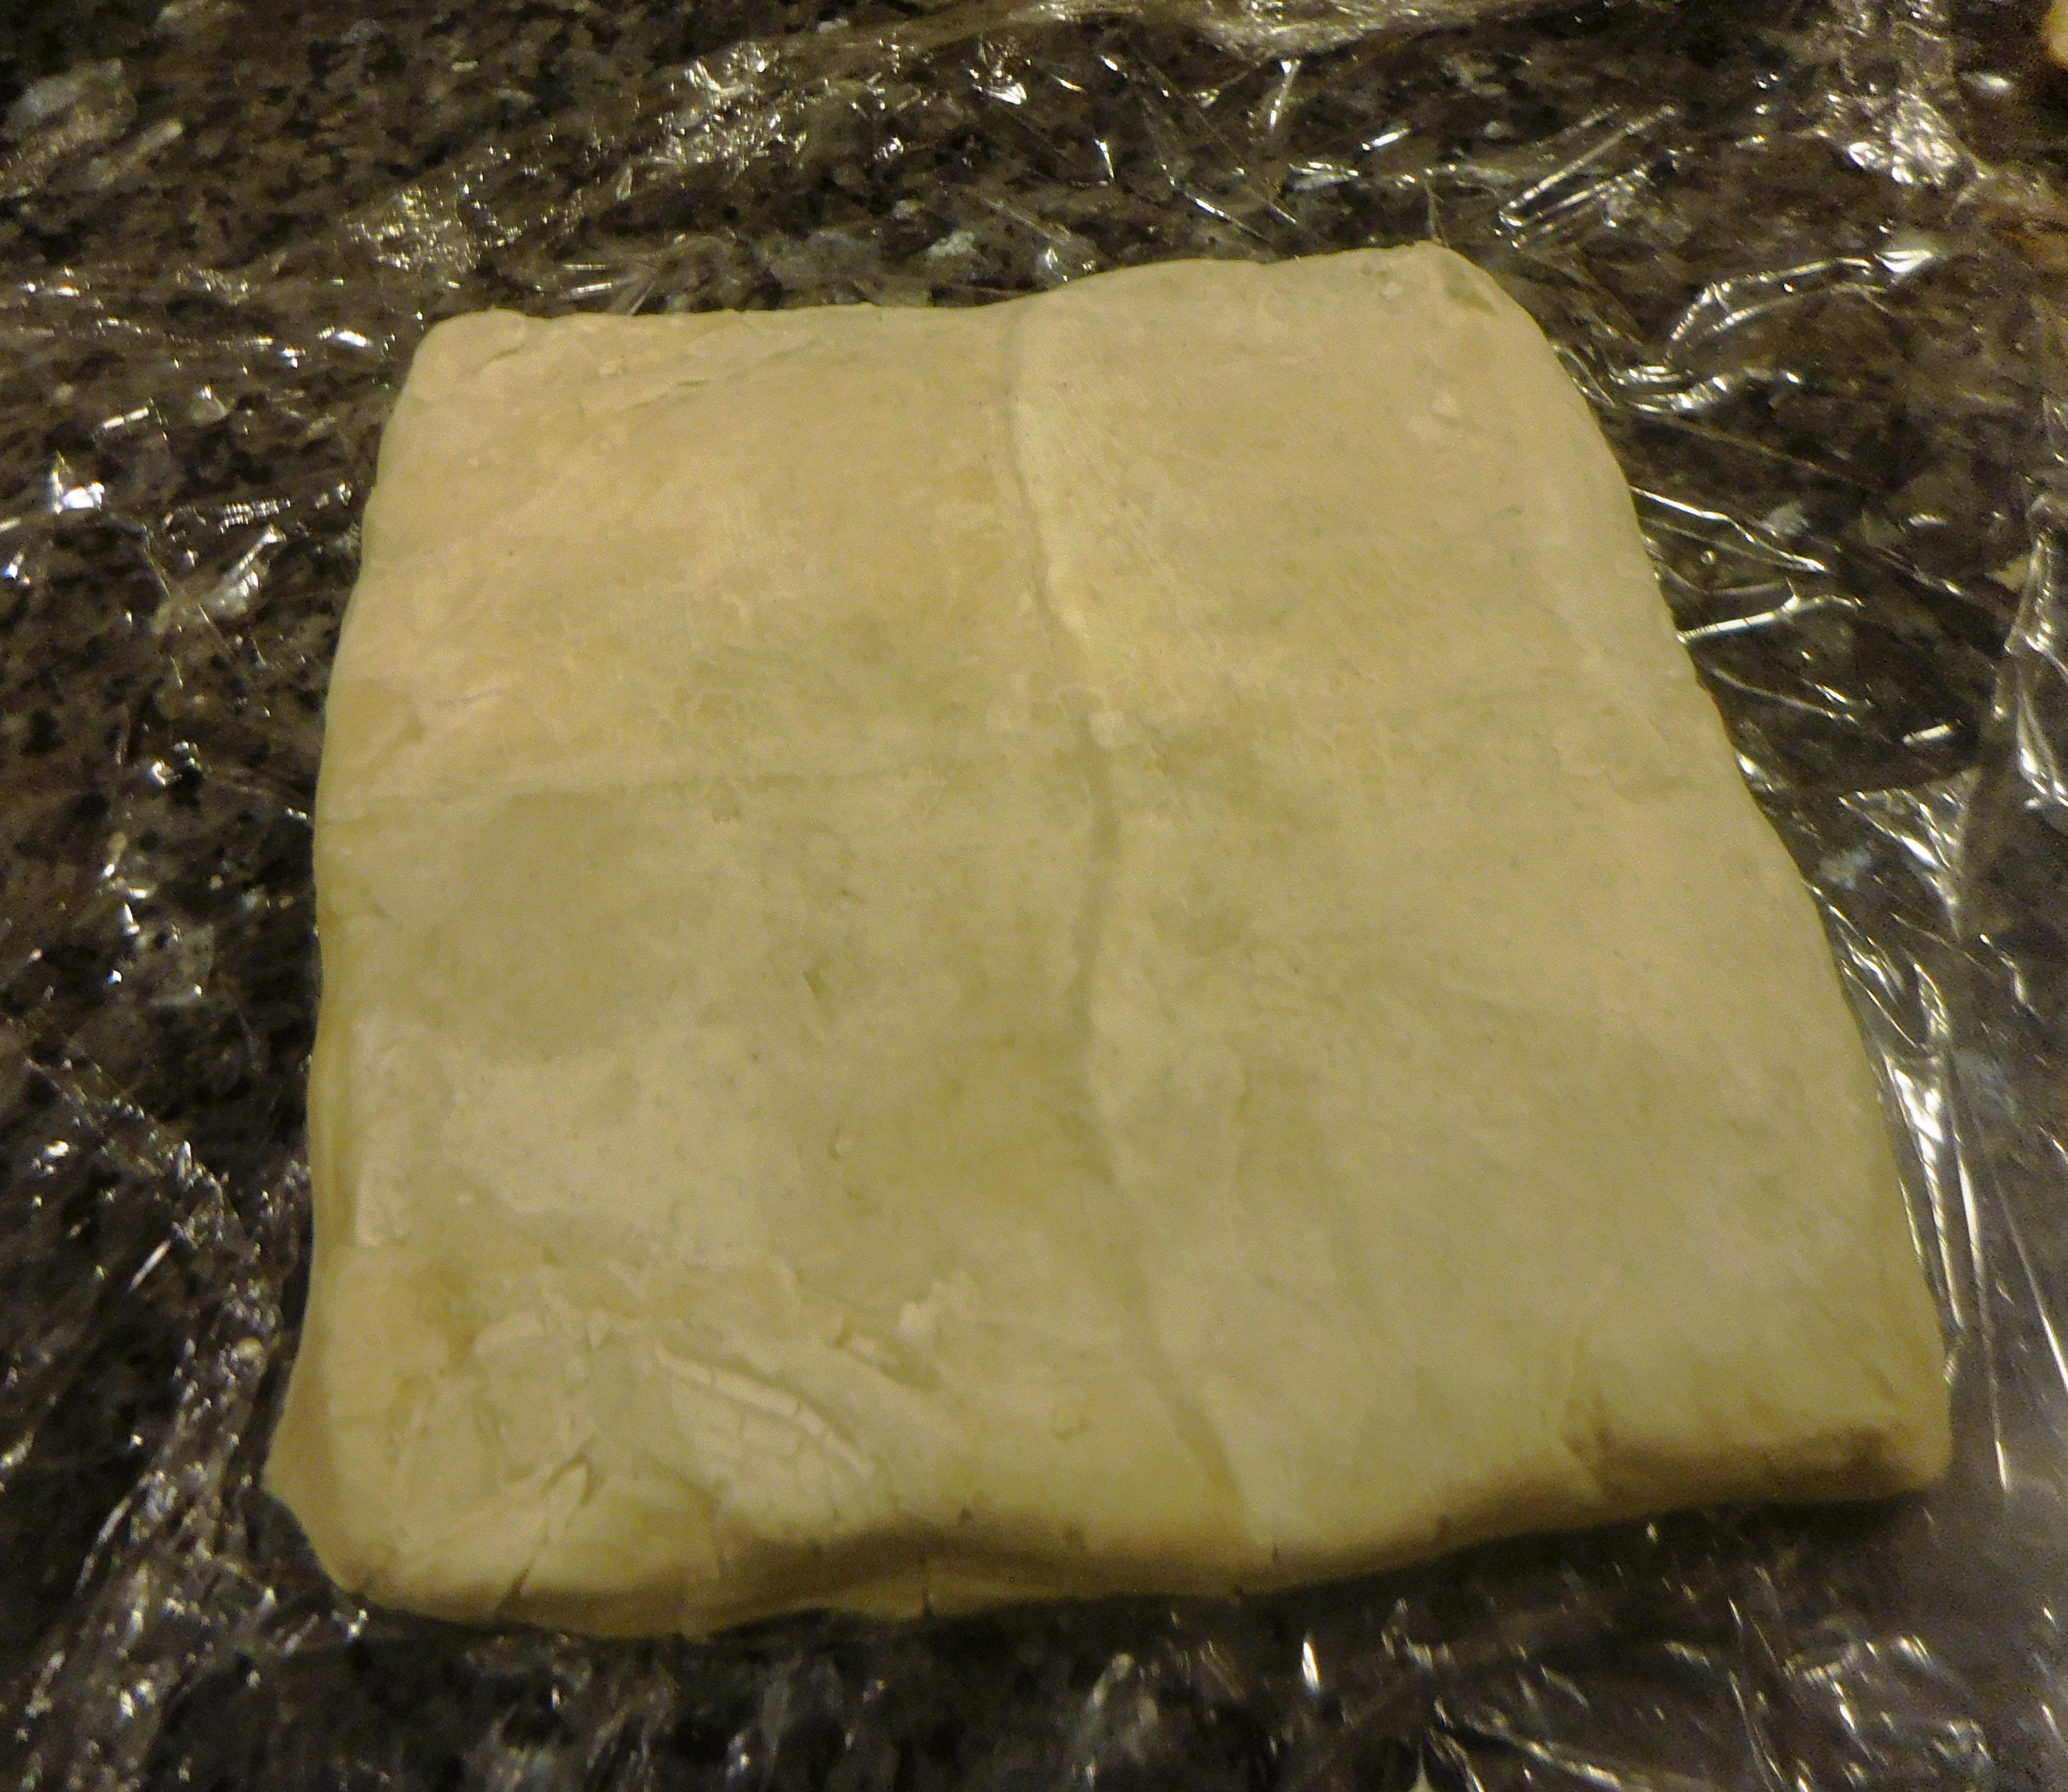
- Wrap the dough tightly in plastic wrap and refrigerate at least 40 minutes. This is necessary not only to relax the dough, but also to firm up the butter.
- Let dough rest another 30 minutes if it seems rubbery and hard to roll.
- The dough is now recipe ready. If you plan on using it later, it can be wrapped well and frozen for a month or so.
Amount Per Serving
Calories 99 Calories from Fat 29
Percent Total Calories From: Fat 30% Protein 8% Carb. 62%
Nutrient Amount per Serving
Total Fat 3 g
Saturated Fat 2 g
Cholesterol 8 mg
Sodium 177 mg
Total Carbohydrate 15 g
Dietary Fiber 0 g
Sugars 0 g
Protein 2 g
Vitamin A 2% Vitamin C 0% Calcium 0% Iron 3%

Related Articles
Editor's Picks Articles
Top Ten Articles
Previous Features
Site Map
Content copyright © 2023 by Karen Hancock. All rights reserved.
This content was written by Karen Hancock. If you wish to use this content in any manner, you need written permission. Contact Karen Hancock for details.