Basic Table Setting
Everything has its place. This holds true for the basic table setting. Prior to sitting down to dinner, having a set table makes dinner actually taste better. Alright this is not a scientific fact, but much like slicing a sandwich diagonally, as opposed to horizontally (diagonally really does taste better), making dinner and placing it on a table which has been set properly causes one to enjoy the dinner more. Conversation is enhanced, food is yummy and the camaraderie is exciting. Try it. You won’t be disappointed.
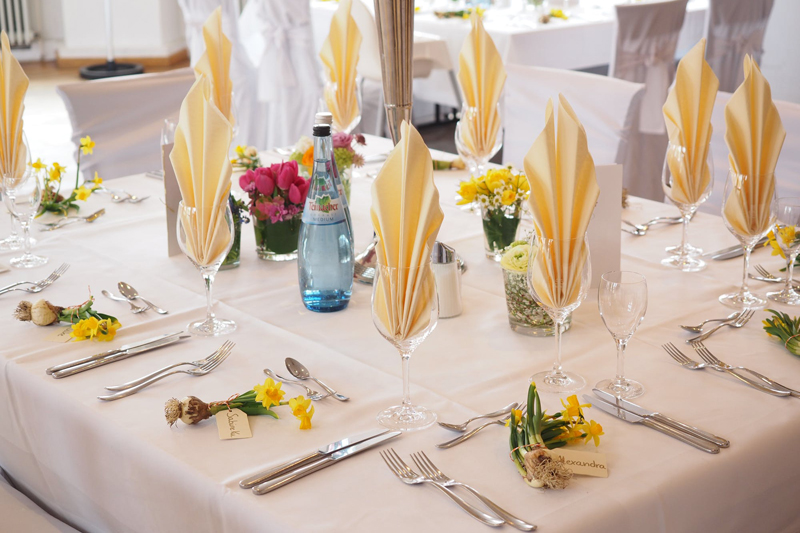
The basic table setting begins with the plate in the middle. Fork (or forks) go on the left and the knife and spoon go on the right. The napkin, if folded, goes under the fork. That’s all there is to it. There’s no magic formula. Just the basics in the correct place where they logically should be in the first place. Clearly this is not brain surgery. It’s very easy and something that children need to learn because it will come up again and again as they get older.
For a basic table setting, here are two great tricks to help you – or your kids – remember the order of plates and utensils. First imagine the acronym FORKS. When looking at a place setting from the left to the right the following is what you see. Fork is on the left (F). The plate (typically in the shape of an O) is in the middle. Next you will see the knife (K) and finally along our left to right promenade, you find the spoon (S). Alright, so you had to omit the R. But it still works and trust me. You and your children will remember it.
When moving on from the basics, here is another little trick. Hold out your hands where you can see them. Now touch your thumb and forefingers together. One on the right hand and one on the left, to shape an OK sign. Your left had is forming a small “b” and your right is a “d”. These little letters can serve as reminders for where the bread goes and where you place your glasses. The bread plate and butter knife go on the left (lower “b”) side. The glasses which will hold your drinks go on the right where your thumb and forefinger form the “d”.
Since we are learning a few tricks, I’ll add some more. First, the bread and butter plates are completely optional. Naturally most people don’t even have these as part of their table setting. But don’t let that stop you from setting the basic table. Next, if you use napkin rings (and many children make these as gifts so you would be putting them to their proper use) place them around the napkin and put it to the left of the fork. If you are folding the napkin, put it under the fork. Finally, when placing any knife on the table setting the knife blades always face the plate.
Many people get in a tizzy over two forks. Trust me, this is no reason to forego setting the table. The dinner fork is the larger of the two and is used for the main course. It is placed closest to the plate. The smaller fork, the salad fork, is placed on the outside of the dinner fork. The forks are arranged according to when you use them. You follow an outside-in order. If the small fork is needed for an appetizer or a salad served before the main course, it is placed on the left (outside) of the dinner fork.
Finally, we have our table set and dinner is being served. But how to pass? We want to be sure that everyone gets access to all the food so which direction should the food be served? The answer is counterclockwise. Much like the table setting itself. This is traditionally the way a meal is served and it works well. So remember to pass counterclockwise.
Bon Appetite

Related Articles
Editor's Picks Articles
Top Ten Articles
Previous Features
Site Map
Content copyright © 2023 by Lisa Plancich. All rights reserved.
This content was written by Lisa Plancich. If you wish to use this content in any manner, you need written permission. Contact Lisa Plancich for details.