
Photoshop Frame Animation - Layer Mask Tween
In this Photoshop® tutorial, we will continue to work on our frame animation using the Timeline in Photoshop. If you haven't completed the previous tutorials, see the link at the end of this tutorial.
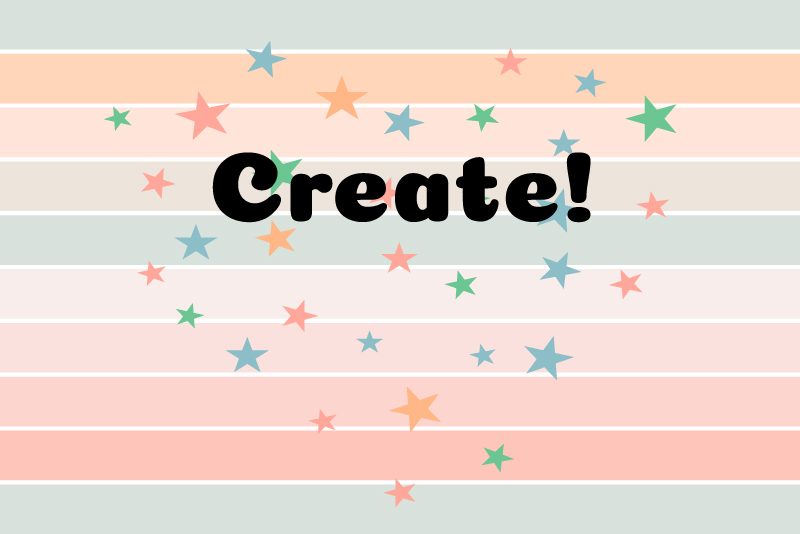
At this point, we have the word Learn on the canvas. There are two animations at the end. The first animation is another fade in/out animation, which we created before. We will fade out the word Learn and fade back in the word Create!.
View Animation
The second animation uses a layer mask. At the start of the animation, the layer mask, which is above the stars layer, will be hiding the stars. Then as we move the layer mask off of the canvas, the stars will become visible, almost one at a time.
© 2024 Adobe Systems Incorporated. All rights reserved. Adobe® product screen shot(s) reprinted with permission from Adobe Systems Incorporated. Adobe, Photoshop, Photoshop Album, Photoshop Elements, Illustrator, InDesign, GoLive, Acrobat, Cue, Premiere Pro, Premiere Elements, Bridge, After Effects, InCopy, Dreamweaver, Flash, ActionScript, Fireworks, Contribute, Captivate, Flash Catalyst and Flash Paper is/are either [a] registered trademark[s] or a trademark[s] of Adobe Systems Incorporated in the United States and/or other countries.
At this point, we have the word Learn on the canvas. There are two animations at the end. The first animation is another fade in/out animation, which we created before. We will fade out the word Learn and fade back in the word Create!.
View Animation
The second animation uses a layer mask. At the start of the animation, the layer mask, which is above the stars layer, will be hiding the stars. Then as we move the layer mask off of the canvas, the stars will become visible, almost one at a time.
- Open your CreateAnimation working file in to Photoshop.
- Select the last frame (frame 17) and duplicate this frame (frame 18 will begin the animation). Set the Delay time to .1 second.
- Duplicate frame 18 (frame 19 will end the animation). With frame 19 selected, set the Opacity of the Learn layer to zero and the Opacity of the Create! layer to 100%.
- Select both frames and click the Tween button. Set the following values and click OK.
- Select and duplicate the last frame, which will give you frame 25. Instead of setting the Delay time to 2 seconds, this time we will set the Delay to 1 second, which will be a slightly shorter pause before the layer mask animation.
- With frame 25 selected, duplicate the layer (layer 26) and set the Delay back to .1 second.
- With frame 26 still selected, set the Opacity of the stars copy layer to 100% in the Layers panel.
- With frame 26 selected, use the Rectangular Marquee tool to draw a selection around the stars. With the second stars layer (stars copy) selected in the Layers panel and holding down the Option key, click the Layer Mask icon at the bottom of the Layers panel (see screenshot).
- Select frame 26. In the Layers panel, click the link icon between the stars copy layer thumbnail and the mask thumbnail (see screenshot).
- Duplicate frame 26 (which will give you frame 27).
- Keep frame 27 selected. On the canvas, drag the mask layer to the right and off of the canvas. You should see the stars again (see screenshot).
- Select both frame 26 and 27. Click the Tweens icon, set the following and click OK.
- Test your animation.
- Save your work.
- From the menu under the frame thumbnail, set Looping back to Forever (see screenshot).
- From the top menu, click File - Export - Save for Web (Legacy). In the Save for Web window, set the Preset to GIF. Keep the default setting and click Save (see screenshot).
- From the top menu, click File - Export - Render Video. In the Render Video window, select a folder to save your video. Keep the H.264 format and other default settings. Click Render (see screenshot).
First, we will add the fade in/out animation.
Tween With: Selection
Frames to Add: 5
You should have 24 frames (see screenshot).
Now we are ready to create the layer mask. We will do this by creating a rectangular selection around the stars and turning that selection in to a layer mask. Remember that we created two stars layers for this project. We have used one layer in the previous animation. Now we will use the second stars layer (stars copy).
First, we need to create the first frame for the animation (frame 26).
You should see the stars disappear, because the layer mask is hiding them. Notice, in the Layers panel, that we now have a new thumbnail for the mask to the right of the stars thumbnail. There is a link icon between them indicating that they are linked together (see screenshot).
Now we will move the layer mask off of the canvas to reveal the stars. But first we need to unlink the layer and the layer mask.
Add the ending frame for the animation.
Now we will animate the mask.
Tween With: Selection
Frames to Add: 5
You should have 32 frames.
You should see the word Learn fade out and the word Create! fade back in. After this, you should see the stars appear behind the text.
That is the complete animation. Now we are ready to export the animation. But first we need to change the Looping option back to Forever.
Now we will export the animation as a .gif image and as a .mp4 video.
Save as .gif
Save as .mp4 Video
© 2024 Adobe Systems Incorporated. All rights reserved. Adobe® product screen shot(s) reprinted with permission from Adobe Systems Incorporated. Adobe, Photoshop, Photoshop Album, Photoshop Elements, Illustrator, InDesign, GoLive, Acrobat, Cue, Premiere Pro, Premiere Elements, Bridge, After Effects, InCopy, Dreamweaver, Flash, ActionScript, Fireworks, Contribute, Captivate, Flash Catalyst and Flash Paper is/are either [a] registered trademark[s] or a trademark[s] of Adobe Systems Incorporated in the United States and/or other countries.

Related Articles
Editor's Picks Articles
Top Ten Articles
Previous Features
Site Map
Content copyright © 2023 by Diane Cipollo. All rights reserved.
This content was written by Diane Cipollo. If you wish to use this content in any manner, you need written permission. Contact Diane Cipollo for details.


