What is Costuming
What is Costuming?
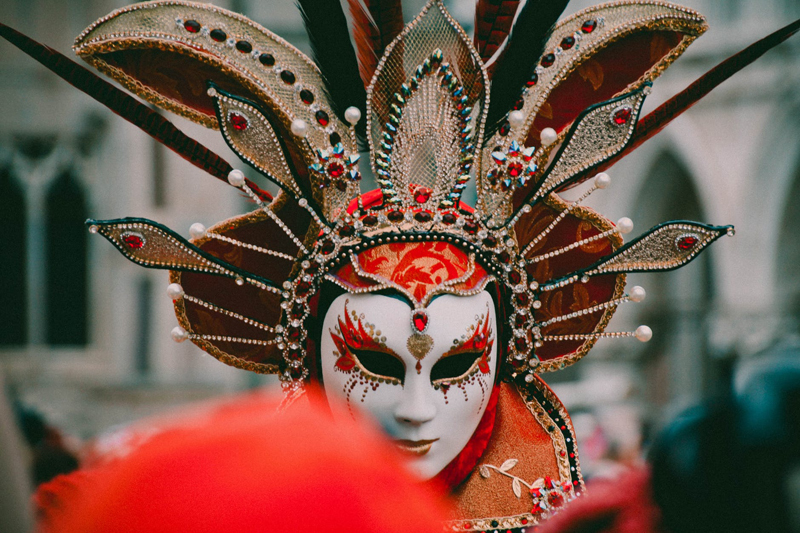
Costuming is creating an overall appearance for a character or performer. This includes but is not limited to traditional garb, a particular country's way of dressing, an accurate representation to a particular period of fashion, or to emulate characters in history, fashion, TV, cartoons, or politics. This can be done in several ways. It can be done by researching and building a costume from scratch, where you find the pattern, buy the materials, and create your own or it can be done by costume coordination where the character is created with existing garments put together to create a cohesive character. This is where the costume is borrowed, rented, or bought and possibly altered to create the overall look.
Most of us will use the latter of the two techniques. We will find pieces and put them together to create the look that we want to create. This can be done by buying an already made costume and then adding accessories and props. Which is a quick and easy way to create a costume. OR if you have more time and want to use a more creative approach then finding pieces in a thrift store or department store and matching them with other pieces and accessories to create the look you want will be the route you will want to take. Doing this will gives you a more creative costume that will not be seen elsewhere.
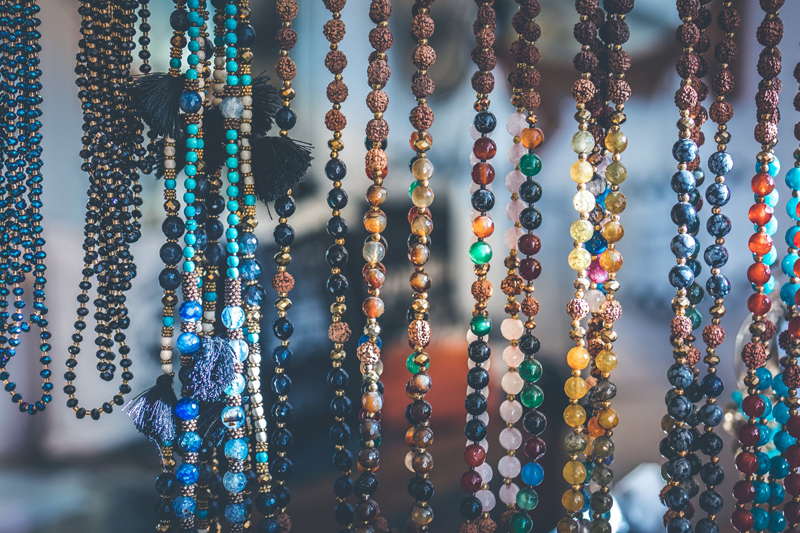
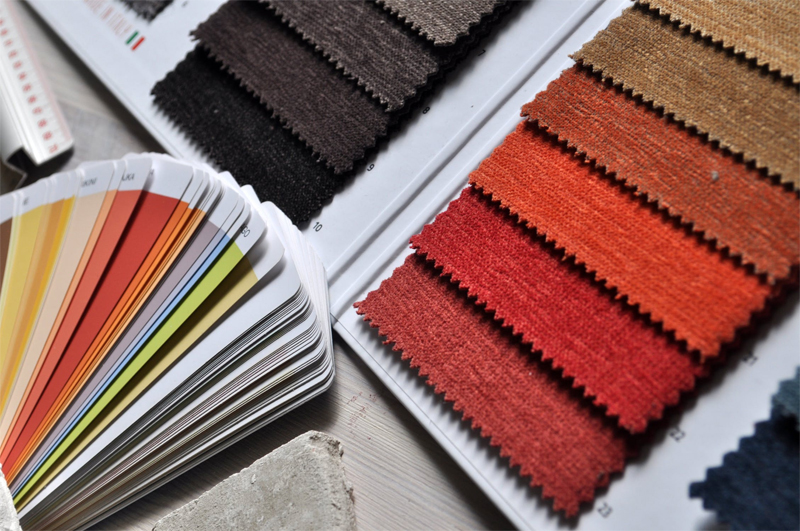
When designing a character you will want to capture the essence of your character. Start with research and find visuals that will represent your character. Then, determine how many pieces you will need to make or acquire. You'll need to take note of your skill level while doing this as well as what can you make vs. buy and what is your budget. Make sure to consider your color pallet and to include props and accessories in you research. After that all that is left is to put it all together and bring the character to life.
Costuming is everywhere. From the red carpet to TV. Everywhere celebrities are seen they are dressed to create the character of how they want the public to perceive them. In film they want to create an artistic visual world in which we interact with. They are dressed to create a feeling that they want the audience to have while watching. The basic design shows status, gives protection or modesty, and provides a visual interest to the character. If you keep these guidelines in mind while creating a character you can become whatever you want.
Costuming is creating an overall appearance for a character or performer. This includes but is not limited to traditional garb, a particular country's way of dressing, an accurate representation to a particular period of fashion, or to emulate characters in history, fashion, TV, cartoons, or politics. This can be done in several ways. It can be done by researching and building a costume from scratch, where you find the pattern, buy the materials, and create your own or it can be done by costume coordination where the character is created with existing garments put together to create a cohesive character. This is where the costume is borrowed, rented, or bought and possibly altered to create the overall look.
Most of us will use the latter of the two techniques. We will find pieces and put them together to create the look that we want to create. This can be done by buying an already made costume and then adding accessories and props. Which is a quick and easy way to create a costume. OR if you have more time and want to use a more creative approach then finding pieces in a thrift store or department store and matching them with other pieces and accessories to create the look you want will be the route you will want to take. Doing this will gives you a more creative costume that will not be seen elsewhere.
When designing a character you will want to capture the essence of your character. Start with research and find visuals that will represent your character. Then, determine how many pieces you will need to make or acquire. You'll need to take note of your skill level while doing this as well as what can you make vs. buy and what is your budget. Make sure to consider your color pallet and to include props and accessories in you research. After that all that is left is to put it all together and bring the character to life.
Costuming is everywhere. From the red carpet to TV. Everywhere celebrities are seen they are dressed to create the character of how they want the public to perceive them. In film they want to create an artistic visual world in which we interact with. They are dressed to create a feeling that they want the audience to have while watching. The basic design shows status, gives protection or modesty, and provides a visual interest to the character. If you keep these guidelines in mind while creating a character you can become whatever you want.

Related Articles
Editor's Picks Articles
Top Ten Articles
Previous Features
Site Map
Content copyright © 2023 by Brandi Ford. All rights reserved.
This content was written by Brandi Ford. If you wish to use this content in any manner, you need written permission. Contact Brandi Ford for details.