Recipe For An Authentic Ploughman's Lunch
If you’re looking for something quick to fix for lunch or dinner, a Ploughman’s might be just the thing. It’s fast, substantial, and requires no cooking. I’d bet that many of the ingredients are already in your fridge or cupboards, and if not, a quick trip to the grocery store will solve that problem. Once the components are gathered, this meal can be put together in about 15 minutes. I would suggest making the “salad cream” ahead, or using bottled dressing to save time.
So, just what is a Ploughman’s?
A Ploughman’s is short for “Ploughman’s Lunch,” and usually consists of bread, cheese, pickles, and salad and/or fruit. It is considered a British icon, and is featured on most (possibly all) pub menus in Britain. There is some variation on the components from pub to pub. I recently sampled a Ploughman’s at The Brewery Shades, a small pub in Crawley, West Sussex (Near London Gatwick Airport) and found I had a choice of cheeses, as well as the option to add ham to this popular lunch. Please note that even though it’s called a Ploughman’s “lunch,” it is served for both lunch and dinner in the pubs. Sometimes the pub menus have the notation next to this menu item that it can be prepared and delivered to the table in 10 minutes or less.
Many believe the Ploughman’s Lunch got its name because the bread, cheese, pickles, salad, and/or fruit were what the Ploughmen’s wives packed in their husband’s lunches, possibly as early as the 1700’s. Ploughing was a winter activity, so the cold weather insured that the lunch would stay fresh with no further refrigeration necessary. Even though the components comprised what is now called a "Ploughman's Lunch," those ploughman probably referred to them simply as "lunch." Most experts agree with writer Keith A. Faulkner, who has thoroughly researched this subject and says in his 2006 book, “The Definitive Ploughman’s Lunch,” that the term “Ploughman’s Lunch” was coined by the British Cheese Board during a marketing campaign in the early 1960’s.
I'm of the opinion that busy cooks don't really care how this meal got its name; most of us are just glad that it's an option for a quick meal!
Here is how to make a proper Ploughman’s:
- Gather the ingredients:
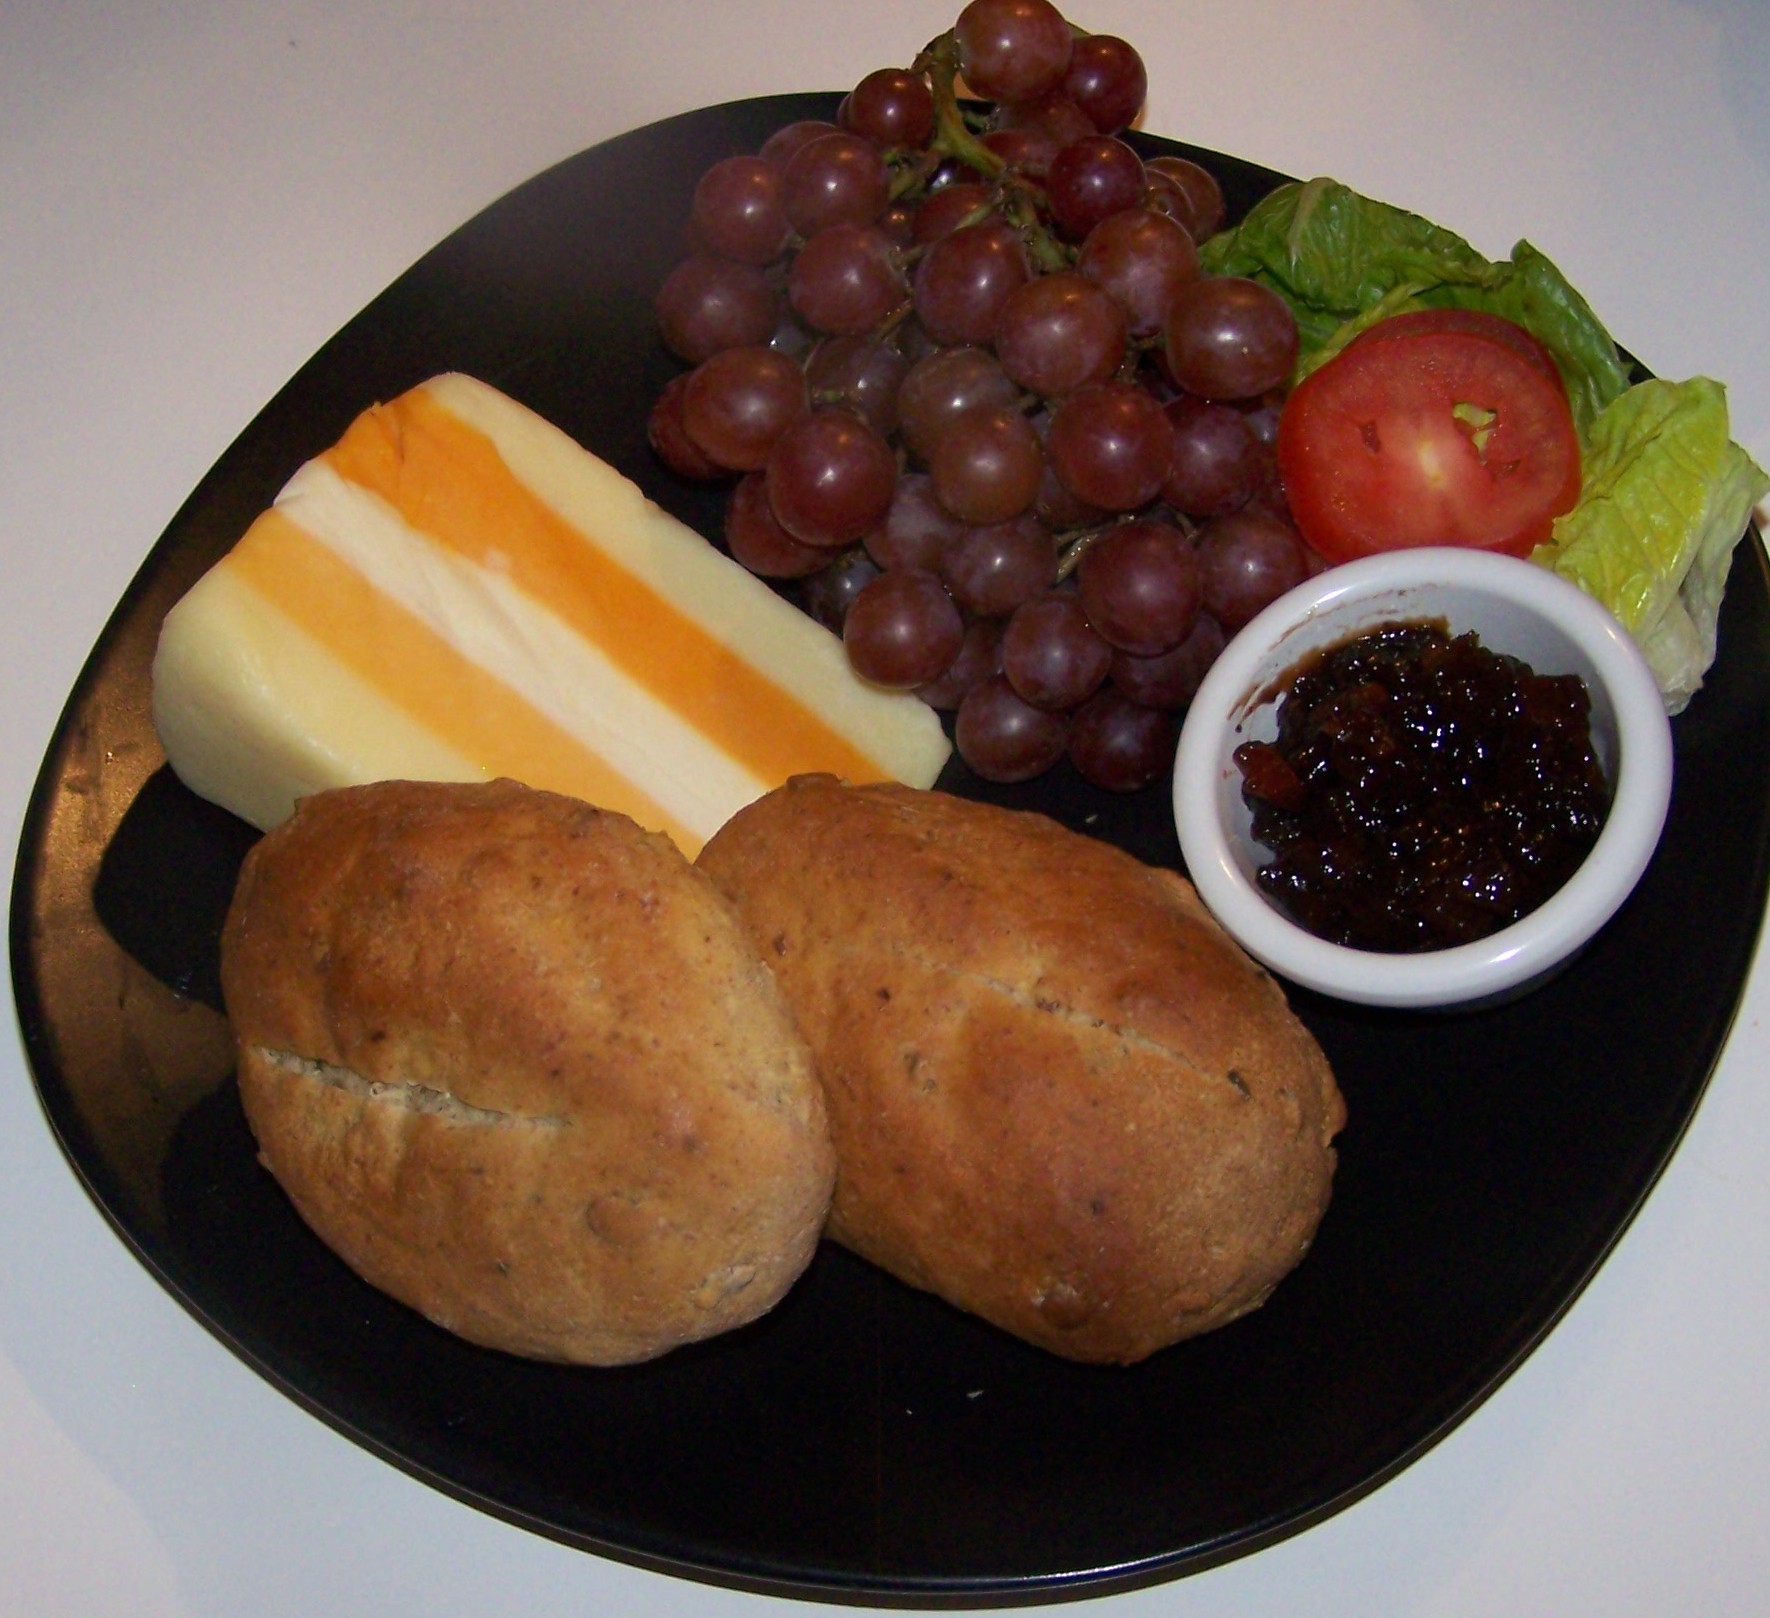
- Now arrange the ingredients on a plate
- That’s it! Serve and enjoy.
Bread
Most grocery stores and bakeries in Britain sell freshly baked Ploughman’s rolls, which are similar to hoagie buns, only shorter. Granary rolls, which contain malted wheat flakes, are another popular choice. The Brewery Shades serves a small baguette with its Ploughman’s. You can use rolls or bread of your choice, but make sure whatever you are using is freshly baked.Cheese
Mature cheddar is probably the most popular cheese to serve with a Ploughman’s; Stilton comes in a close second. The striped cheese in the picture is layers of mature cheddar from five regions in Britain. Since the Ploughman’s is British pub food, it’s only fitting that the cheese you include is English.Pickles
Either Branston Pickle, a delicious vegetable relish made by Crosse and Blackwell, or piccalilli, a mustard based relish will insure that your Ploughman’s is authentic. Branston pickles are available in the gourmet condiment section of most larger grocery stores, or can be purchased online. Tiny pickled onions are also a good accompaniment.Salad
A simple lettuce salad with tomatoes is served in most pubs, with a packet of “French Salad Cream,” which is a light creamy sweet dressing. Since this particular dressing isn’t readily available in the US, I’ve included the following quick and easy copycat recipe. Also add some fresh fruit such as apple slices, grapes, strawberries, and pineapple which are also good with the dressing.British “French” Salad Cream
1/2 cup sugar
1 teaspoon dry mustard
1 teaspoon salt
1/3 cup white wine vinegar
1 tablespoon finely chopped onion, or use a teaspoon of dry onion
3 tablespoons vegetable oil
1/2 cup mayonnaise
Combine all dressing ingredients in the blender or food processor. Process until smooth and creamy.

Related Articles
Editor's Picks Articles
Top Ten Articles
Previous Features
Site Map
Content copyright © 2023 by Karen Hancock. All rights reserved.
This content was written by Karen Hancock. If you wish to use this content in any manner, you need written permission. Contact Karen Hancock for details.