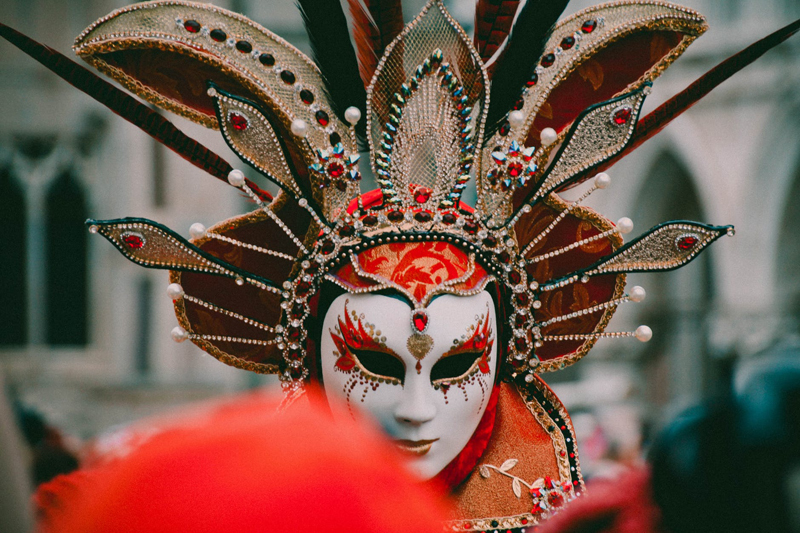
Thread Painting for Belly Dance Costumes

Part of the beauty of any belly dance costume is the embroidery and beadwork covering the piece. I've been known to spend months and months hand working a design onto a skirt or veil. But hand embellishing can get tricky when you're using specialty fabrics like chiffon, satin or lycra. The ground fabric is just too slippery or stretchy and every stitch is a chore.
Recently, I learned the joys of thread painting. Basically, you're using colorful silk, cotton and metallic threads to fill in a pre-drawn design. And it's all done by machine, which makes it a quick and easy project. If you're lucky enough to have a combination sewing and embroidery machine like the Janome Memory Craft, you have the luxury of lots and lots of pre-programmed designs to choose from. But you can use any sewing machine for thread painting as long as you can lower the feed dogs. All you need is a straight stitch and a zig-zag.
Supplies you'll need for thread painting:
Let's practice on a scrap piece of fabric first, just so you get the hang of it and see how easy it is. Start by drawing out your design on your fabric. If you're using something transparent, like chiffon, you can draw the pattern on your stabilizer instead. It will show through just fine. Then put your stabilizer under your fabric and put both in your embroidery hoop.
Next, you need to set up your machine. Make sure you have a fresh needle appropriate to the type of thread you're using. Metallic threads have special needles to keep them from fraying as they travel through your machine. Loosen your upper tension to about 2.5. Lower your feed dogs (usually by a button on the back of the machine) and attach your free motion embroidery foot. You're all set to go.
If you've never used a free motion foot before, just play around with different stitches and feel how easy it is to move your hoop anywhere you please. Most of thread painting is just filling in and shading your design using straight and zig-zag stitches. Practice moving your hoop in the North/South direction and then East/West. Try painting along straight lines and curvy lines. Once you get used to the motion and can easily fill in a design to your liking, the sky's the limit! You can now embroider just about anything that will fit in your hoop.
When you're finished with your thread painting, remove the hoop and wash or tear away any stabilizer you can still see on the back of the piece. Then consider adding beads or other sparklies, if you like. You can even go back and outline the design in a dark thread to boost the contrast power.
Here are a few tips for you:
Thread painting is a great way to save money on those uber-expensive Sim and Bella costumes. Just purchase or make a plain version and then embellish it to your own taste and colors. You could save hundreds or even thousands of dollars on each costume. Good luck and post your pictures in the forum!
Thread Painting Made Easy
Recently, I learned the joys of thread painting. Basically, you're using colorful silk, cotton and metallic threads to fill in a pre-drawn design. And it's all done by machine, which makes it a quick and easy project. If you're lucky enough to have a combination sewing and embroidery machine like the Janome Memory Craft, you have the luxury of lots and lots of pre-programmed designs to choose from. But you can use any sewing machine for thread painting as long as you can lower the feed dogs. All you need is a straight stitch and a zig-zag.
Supplies you'll need for thread painting:
- Embroidery hoop
- Stabilizer (wash-away or tear-away)
- Colorful threads
- Free-motion presser foot (get one at your local fabric store or order online. Be sure to get one that works with your particular machine)
Let's practice on a scrap piece of fabric first, just so you get the hang of it and see how easy it is. Start by drawing out your design on your fabric. If you're using something transparent, like chiffon, you can draw the pattern on your stabilizer instead. It will show through just fine. Then put your stabilizer under your fabric and put both in your embroidery hoop.
Next, you need to set up your machine. Make sure you have a fresh needle appropriate to the type of thread you're using. Metallic threads have special needles to keep them from fraying as they travel through your machine. Loosen your upper tension to about 2.5. Lower your feed dogs (usually by a button on the back of the machine) and attach your free motion embroidery foot. You're all set to go.
If you've never used a free motion foot before, just play around with different stitches and feel how easy it is to move your hoop anywhere you please. Most of thread painting is just filling in and shading your design using straight and zig-zag stitches. Practice moving your hoop in the North/South direction and then East/West. Try painting along straight lines and curvy lines. Once you get used to the motion and can easily fill in a design to your liking, the sky's the limit! You can now embroider just about anything that will fit in your hoop.
When you're finished with your thread painting, remove the hoop and wash or tear away any stabilizer you can still see on the back of the piece. Then consider adding beads or other sparklies, if you like. You can even go back and outline the design in a dark thread to boost the contrast power.
Here are a few tips for you:
- Anchor your threads with a few starter stitches before you start moving the hoop around.
- Snip your thread ends as you go, so they don't get caught up in your sewing.
- If you're embroidering on a stretch fabric, leave empty spaces here and there so it will still stretch on your body. Try embroidering small medallion or other motifs with empty space in between. Anywhere you embroider will lose its stretch-ability.
- Shading and multi-color designs are beautiful, but changing thread takes time. So try to do all the red sections before switching to green, if you can.
- Remember, thread adds weight. So, if you're embellishing a veil or float-y skirt, you'll be changing the way it moves. Keep that in mind when planning your designs.
Thread painting is a great way to save money on those uber-expensive Sim and Bella costumes. Just purchase or make a plain version and then embellish it to your own taste and colors. You could save hundreds or even thousands of dollars on each costume. Good luck and post your pictures in the forum!
Thread Painting Made Easy

Related Articles
Editor's Picks Articles
Top Ten Articles
Previous Features
Site Map
Content copyright © 2023 by Julie Anne Eason. All rights reserved.
This content was written by Julie Anne Eason. If you wish to use this content in any manner, you need written permission. Contact Brandi Ford for details.


