Modifying a Vintage Beaded Choker
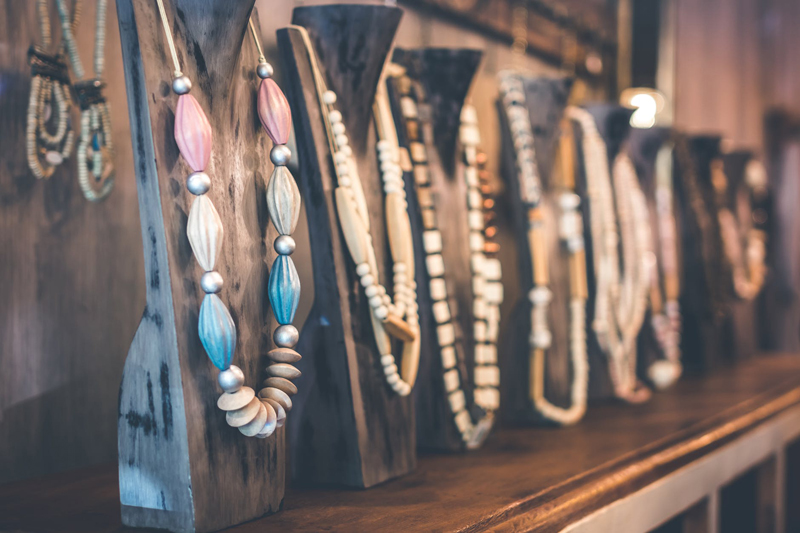
 Lots of vintage chokers from the 1950s and 60s feature funky, high-fashion glass beads in eye-catching colors and shapes. But unlike most of today's necklaces, they were usually designed to be worn tight against the neck - so they tend to be very short in length.
Fortunately, it's not too difficult to customize old bead necklaces to make them more wearable. A friend recently asked me to lengthen this gorgeous, green vintage choker. Here's a look at how I approached it.
(Resources for learning how to select the best materials for your project, and how to perform the techniques I used, are provided at the end of the article.)
This necklace has a linked-bead extender chain at the end, which makes the length slightly adjustable. The clasp is a basic hook (with a decorative flower motif) that slips over the links of the extender chain between beads. It's not a very secure design, so I'll be adding a secure lobster clasp as well.
My friend decided that she'd like the double-strand portion of the necklace to be as long as its current length plus the length of the extender chain. I begin by laying out the necklace on a bead board to measure the length of the extender chain and the length of each of the beaded strands (one is longer than the other).

I'll need to add the length of the extender chain (2.25 inches) to both beaded strands to preserve the way they lay. That will bring the total length of the upper strand to about 15 inches, and the lower beaded strand to about 16.25 inches. (Note that the actual length of the necklace will be a little longer because the leaf-shaped end pieces add length. Also, these measurements don't include the length of the extender chain, which will remain in place).
Based on the length, weight, and style of this necklace, I've decided to restring it using 19-strand, .015", 17-lb test-strength bead stringing wire in bronze. I start by cutting two lengths that are each about 6 inches longer than what I want the finished lengths to be. (This means that one piece is about 21 inches long and the other is about 22.25 inches long.)
I prepare the stringing wire by attaching a gold-tone crimp tube to one end of each. (The original design was finished with bead tips, but since I'm using bead stringing wire, I'm using crimps instead.)

Because I'm increasing the length of the beaded strands, I need some more beads to add to the necklace. In this case, the necklace's owner had a matching bracelet that she didn't plan on wearing, and she gave me permission to use the beads from it. (When you don't have spare beads that match your necklace exactly, try searching on eBay for vintage or vintage-style beads in the same color scheme. String the new beads evenly on each end of the necklace so the design still looks natural.)
Using beads I cut from the matching bracelet, I begin stringing them onto the shorter strand of bead stringing wire, following the same pattern used in the necklace. Here, you may want to lay the necklace out on the board next to where you're working to make sure the pattern of your new beads merges properly with the original strand.

I stop when I have about 2.25 inches of beads strung on. Now I carefully cut the string at the end of the upper strand of the necklace and unstring all of the beads onto my bead board, preserving the pattern. (You can usually do this by holding several beads at a time with one hand and gently pulling the string out of the other end of the necklace with the other hand.)

I now string all of those beads, in order, onto the strand I already started. Before adding the second crimp tube, I want to double-check that this strand will measure about 15 inches when it's finished. Holding the beads together as they will be when strung, I lay the strand out on the bead board to measure it. The length looks ok, so I attach the crimp tube. I then repeat the entire process for the second strand of the necklace, again double checking to make sure it's the correct length.
Next, I re-attach the two newly-lengthened strands to the leaf-design end connectors using the original jump rings. The necklace is now reassembled and can be worn. However, as I mentioned earlier, I'm going to do a little more work to make the clasp more secure.
I first remove the original, simple hook and its jump ring. In their place I attach a premade gold-tone metal clasp eye (which I'm using here as a connector) and a matching lobster clasp. The figure-eight clasp eye works better here than a jump ring because its added length will make the lobster clasp easier to hold onto and use.

The other end of the necklace still has its original linked extender chain, which ends with this bead on a head pin:

I want to create a loop at that end, so I cut off the head pin and replace it with 20-gauge brass wire loops. Now there is a loop at the end that the lobster clasp can hook onto.
As a final decorative touch, I attach the original flower-design hook clasp to the new end-loop I just created, using the hook's original jump ring (which I had removed from the other end of the necklace).

It can now serve as a pretty charm at the very end of the chain:

Because of its design, it can also be used as an eye for the lobster clasp to hook into, so the necklace can be worn at its maximum length:

The necklace can also be worn a little shorter by hooking the lobster clasp into any of the original loops in the extender chain:

The necklace modification is now complete! The choker is still relatively short, but more wearable, and its clasp is more secure than the original basic hook.
 All of the techniques I used in this project, including how to select a stringing material, are demonstrated and explained in detail in my book Teach Yourself Visually: Jewelry Making and Beading, which is available through Amazon.com and at most major bookstores.
You can also find some introductory bead-stringing information in the articles linked below under Related Links.
If you're ready to scout for some fun vintage chokers to customize on eBay, click here to get started!
Chris Franchetti Michaels is a writer and jewelry artisan specializing in beaded designs, wire work, and metal fabrication. She is the author of the books Teach Yourself Visually: Jewelry Making and Beading, Beading Quick Tips, and Wire Jewelry Quick Tips. Visit her website BeadJewelry.net for more jewelry-making help and inspiration.
You Should Also Read:
Getting Started Bead Stringing - Preparation
Getting Started Bead Stringing - Stringing and Finishing
Beadalon Nylon Coated Bead Stringing Wire

Related Articles
Editor's Picks Articles
Top Ten Articles
Previous Features
Site Map
Content copyright © 2023 by Chris Franchetti Michaels. All rights reserved.
This content was written by Chris Franchetti Michaels. If you wish to use this content in any manner, you need written permission. Contact Susan Mendenhall for details.