Getting Started Bead Stringing - Preparation
Bead stringing is one of the most popular forms of jewelry making today. It's relatively affordable and not overly difficult to master. For many beaders, treasure-hunting for beads and findings is half the fun.
Here's what you'll need to get started:
- stringing wire
- crimps
- jump rings
- beads!
- beading board or mat
- pre-made clasp
- two pair small, smooth chain nose pliers
- smaller wire cutters
A good stringing material to begin with is 19-strand nylon coated jewelry cable in 0.15" or .018" diameter. The two most popular brands are Beadalon and SoftFlex. These cables are made up of numerous, tiny strands of steel and coated with a thin layer of nylon. They offer strenth and good flexibility. Just about any pair of wire-cutters can be used to trim the cable, but smaller pliers work best.
 For securing the ends of the cable, you'll need "crimp" findings. You can choose among crimp beads, crimp tubes, and crimp ends. For someone just starting out, I recommend a crimp bead or tube. Tubes are smooth and typically stronger than rounded "beads," but they are also more expensive. Choose a crimp with a similar metal color as the other findings (such as a clasp) you plan to use with your design.
You'll also need a pair of jewelry-making pliers for closing (securing) the crimp. These can be a basic pair of smooth chain nose pliers or special "crimping pliers." Crimping pliers take a little practice to use properly, but they result in a more professional-looking crimp.
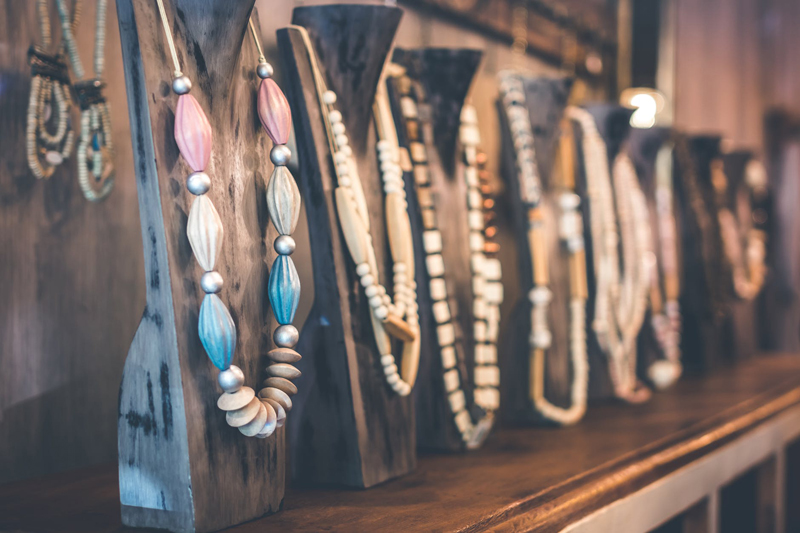
 Next, of course, you'll need some beads! Beads can be purchased just about anywhere these days, from drug stores to bead shops to the Internet. Sometimes you can even find interesting beads on old jewelry at thrift stores. They're available in a wide array of colors, materials, and textures. Do not use a lot of very heavy beads in your strung jewelry, as the stringing wire will be more likely to fail.
Devote some time to arranging your beads on a mat or bead board. Line them up, and play with different patterns and configurations. It's important not to begin stringing until you're 100% happy with your design, so don't skimp on this step. Using the bead board or a ruler (if using a mat), lay out enough beads to cover a length about one inch shorter than you wish your final piece to be.
Once you have your bead design, select a pre-made clasp that works well with it. You can find clasps just about anywhere you find beads, and they're available in all kinds of styles from simple hooks, to "lobster claw" clasps, to toggles.
Now that you have all of your parts and pieces in working order, it's time to start stringing!
You may also be interested in:
Teach Yourself Visually Jewelry Making & Beading
Beadalon Nylon Coated Bead Stringing Wire
Advanced Beadwork by Ruth F. Poris - Book Review
Chris Franchetti Michaels is a writer and jewelry artisan specializing in beaded designs, wire work, and metal fabrication. She is the author of the books Teach Yourself Visually: Jewelry Making and Beading, Beading Quick Tips, and Wire Jewelry Quick Tips. Visit her website BeadJewelry.net for more jewelry-making help and inspiration.
You Should Also Read:
Stringing and Finishing
Beadalon Nylon Coated Bead Stringing Wire
Advanced Beadwork by Ruth F. Poris - Book Review

Related Articles
Editor's Picks Articles
Top Ten Articles
Previous Features
Site Map
Content copyright © 2023 by Chris Franchetti Michaels. All rights reserved.
This content was written by Chris Franchetti Michaels. If you wish to use this content in any manner, you need written permission. Contact Susan Mendenhall for details.